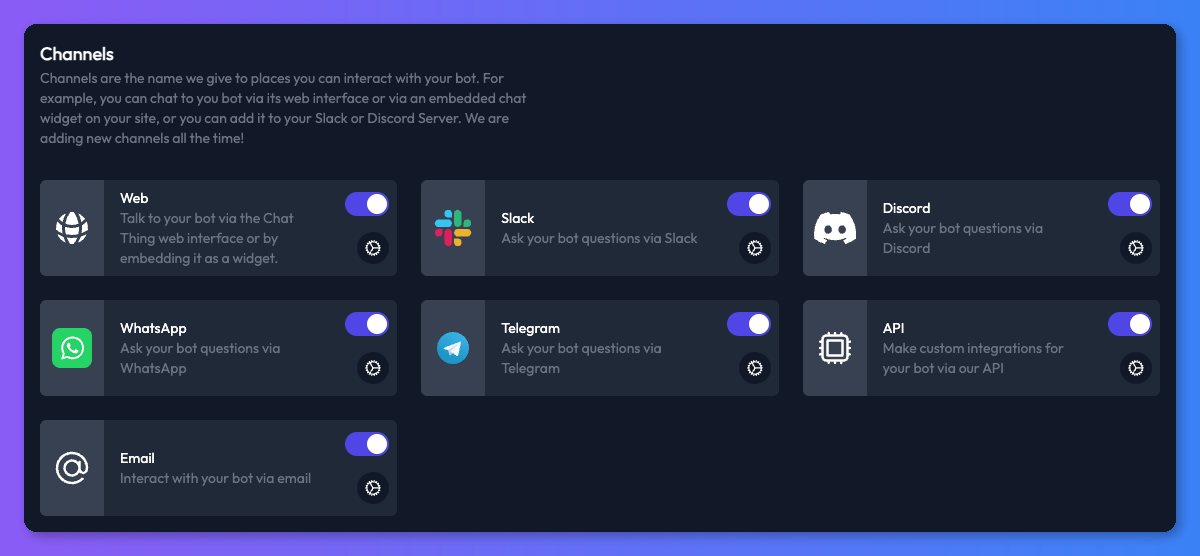
Channels
Web
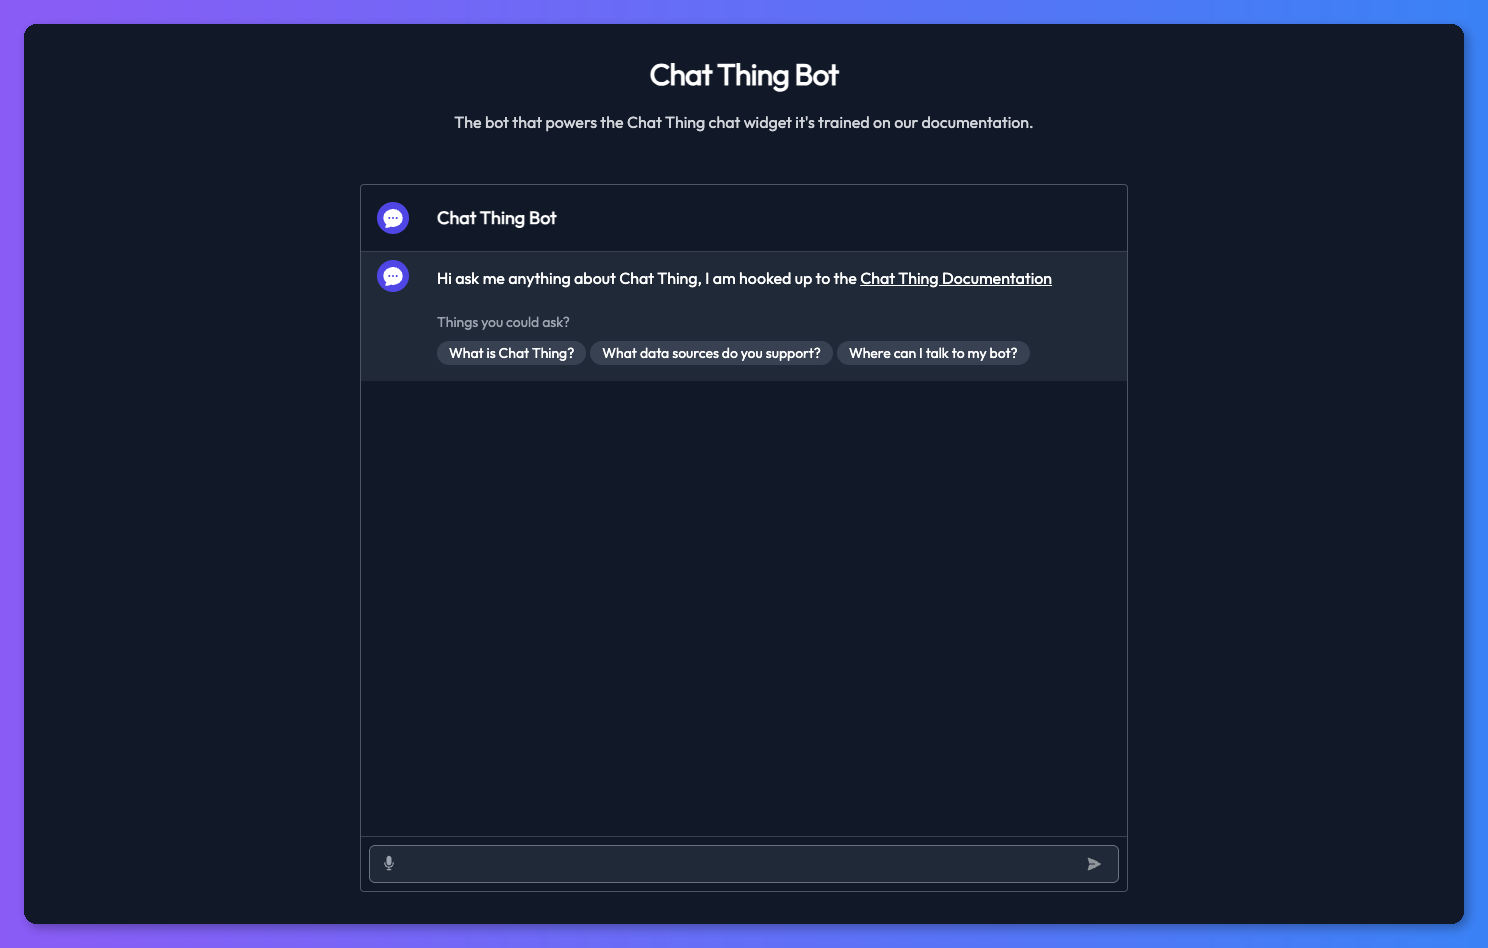
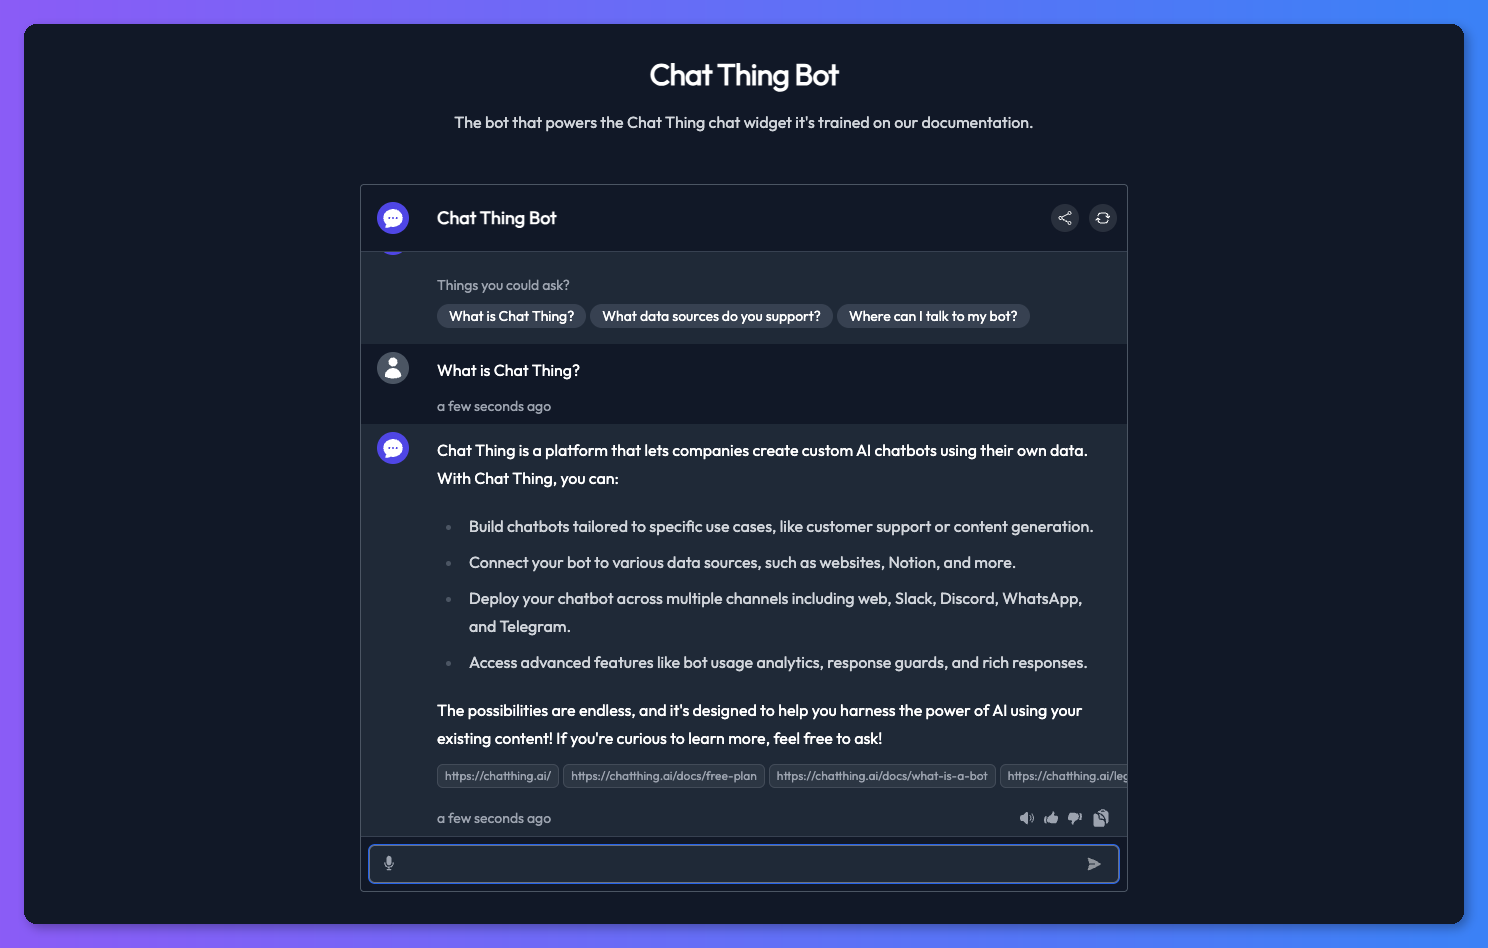
The web channel is the default way to chat with your bot. Every bot you create has it enabled automatically — you can talk to your bot on its own Chat Thing page, or embed it on your website as a floating chat widget or an iframe (a way to display your bot directly inside a page on your site).
Chatting with your bot
Every bot gets its own unique URL where you can start chatting straight away. This is also a great way to test your bot while you're setting it up. Your bot's URL will look something like this: https://chatthing.ai/bots/98c8bb01-129e-4459-b496-648f6601cd70
You can find your bot's URL by clicking the Open Bot button on your bot's dashboard.

Web channel settings
To configure your bot's web channel, head to the Channels tab on your bot's dashboard and click the settings icon on the web channel card. This opens a dedicated settings page where you can control theming, widget behaviour, audio, security, and more.
Theming your bot
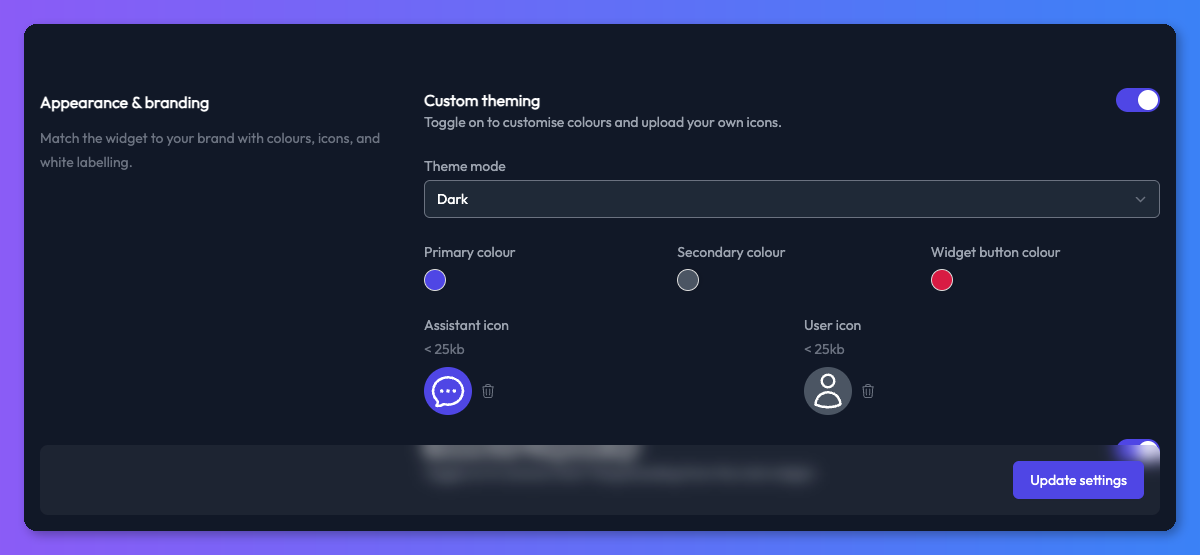
Want your bot to match your brand? Turn on theming from the web channel settings using the theming toggle.
Once enabled, you can choose between light or dark mode and pick your colours:
- Primary colour — used for the send button and the bot's avatar background.
- Secondary colour — used for the user's avatar.
- Widget button colour — controls the look of the floating chat widget button.
You can also upload custom icons for the assistant and user avatars.
Standard, Pro & Enterprise plans can remove the Chat Thing branding too.
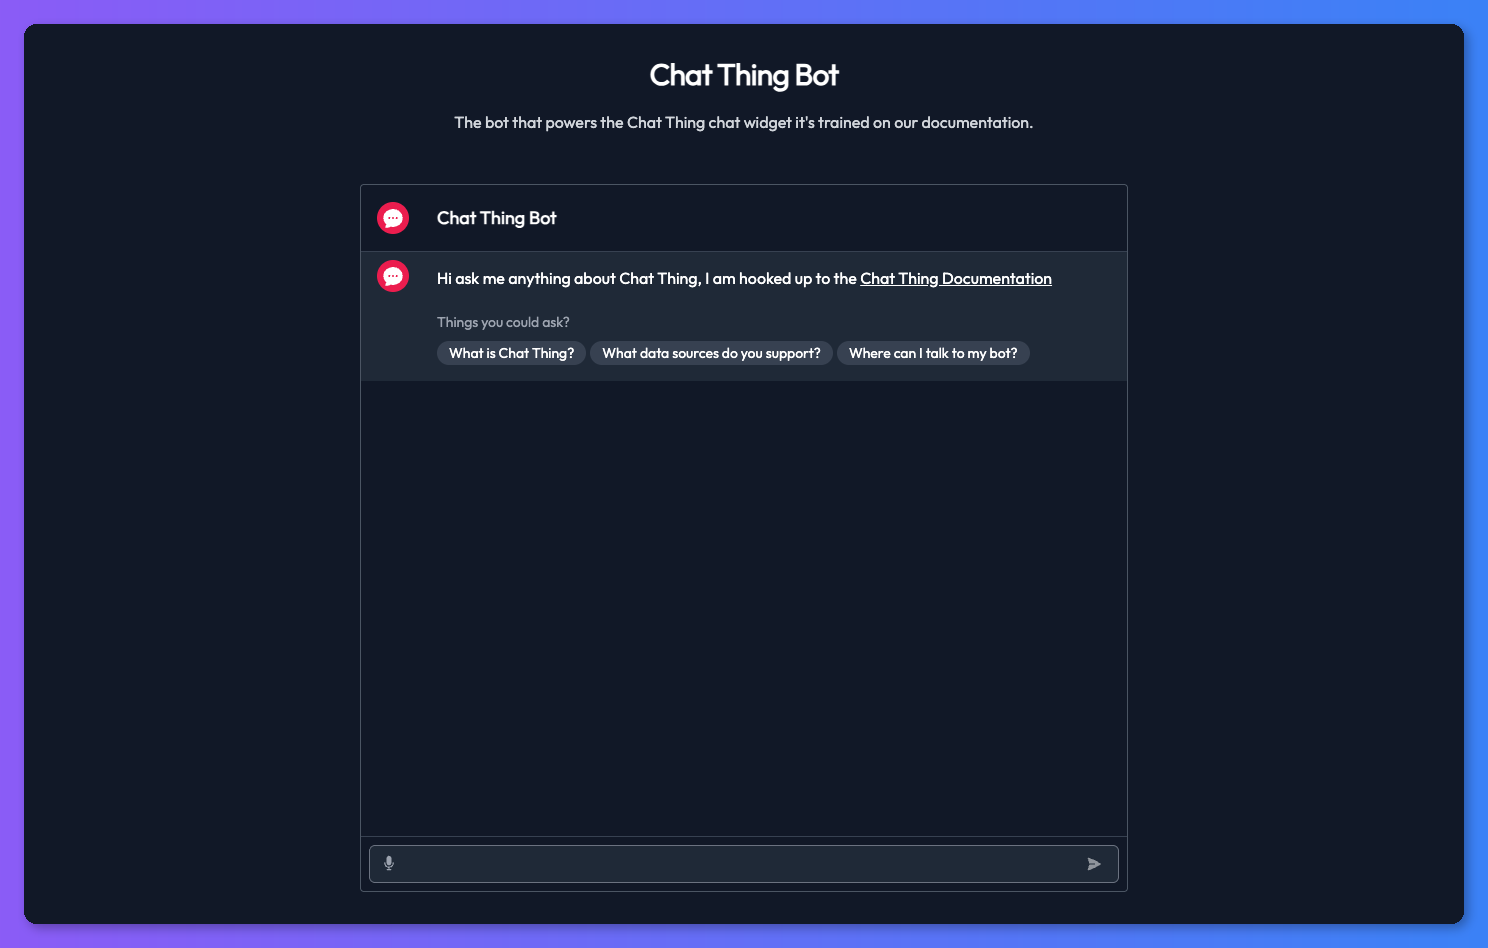
Here's an example of a bot with a red primary colour:
Widget behaviour
These settings let you control what visitors can see and do in the chat widget.
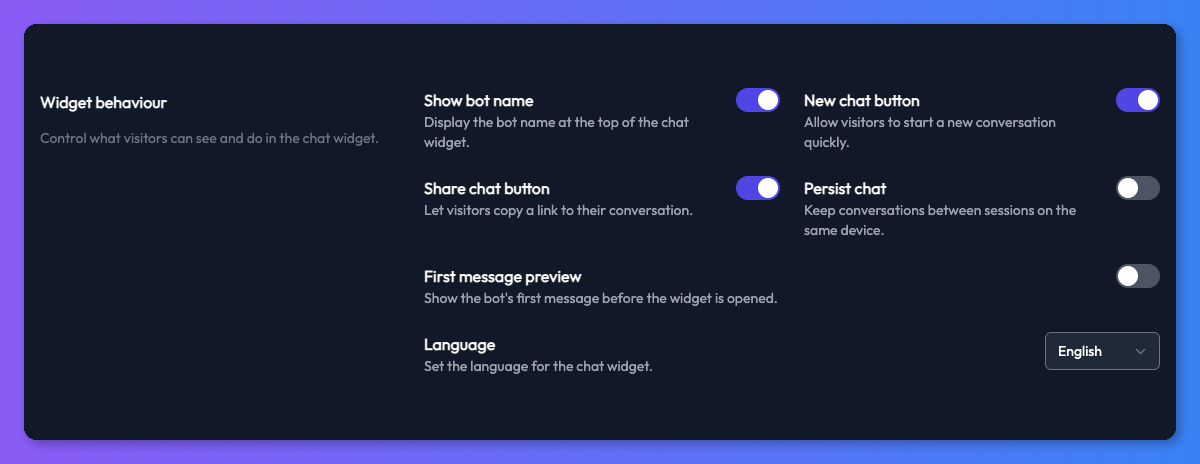
- Show bot name — Display the bot's name at the top of the chat widget.
- New chat button — Let visitors start a fresh conversation from within the widget.
- Share chat button — Let visitors copy a shareable link to their conversation.
- Persist chat — Keep conversations between sessions on the same device, so returning visitors pick up where they left off.
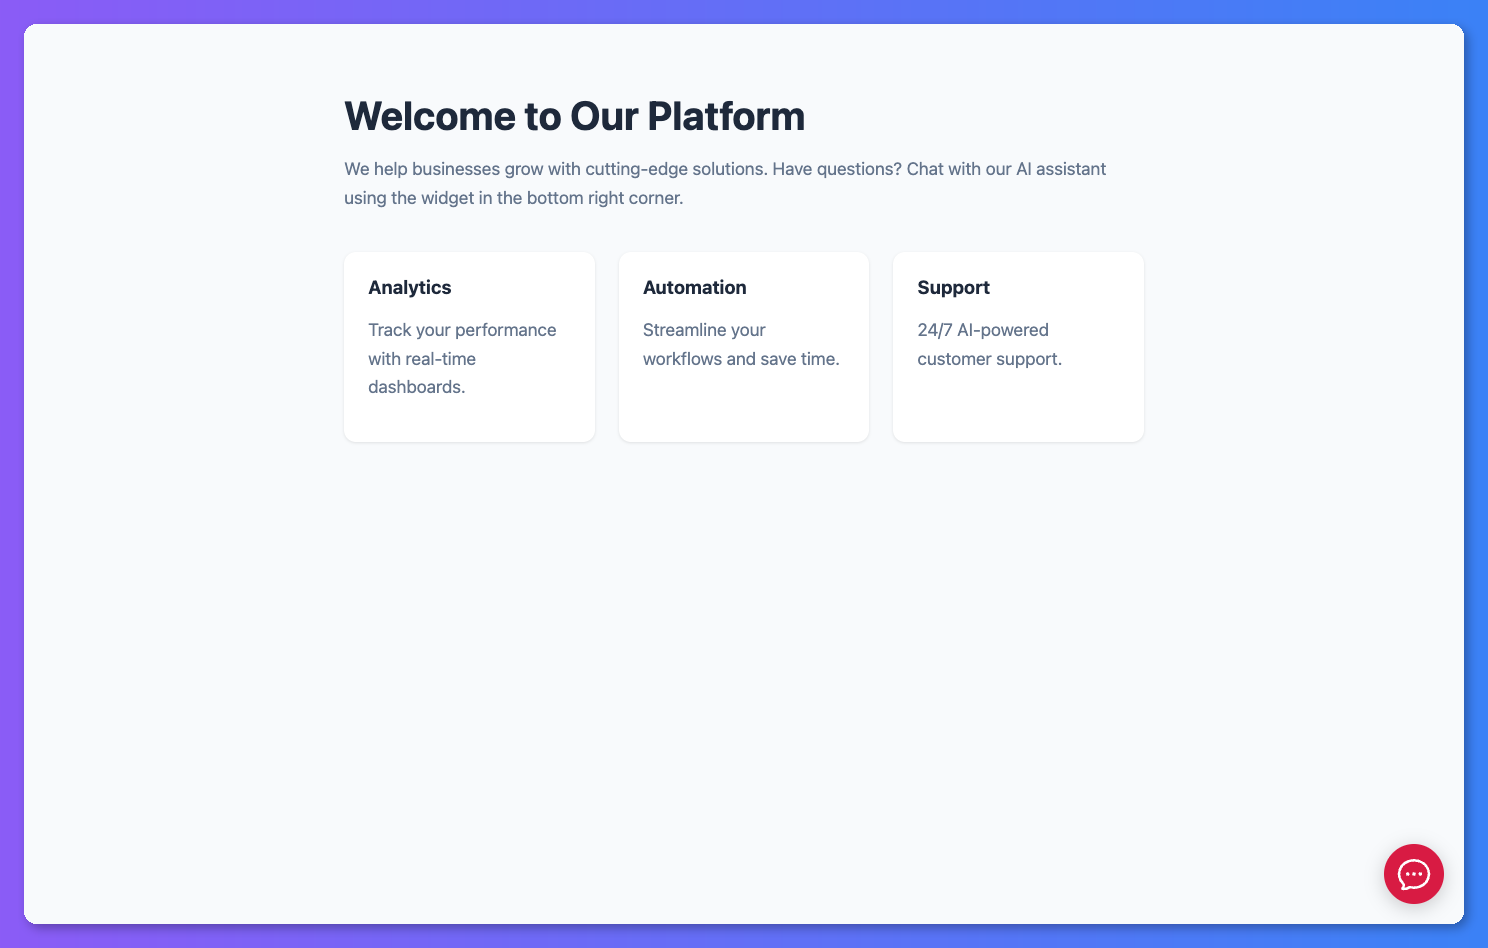
Embedding your bot
You can add your bot to any website in two ways: as a floating chat widget, or as an iframe embedded directly into a page.
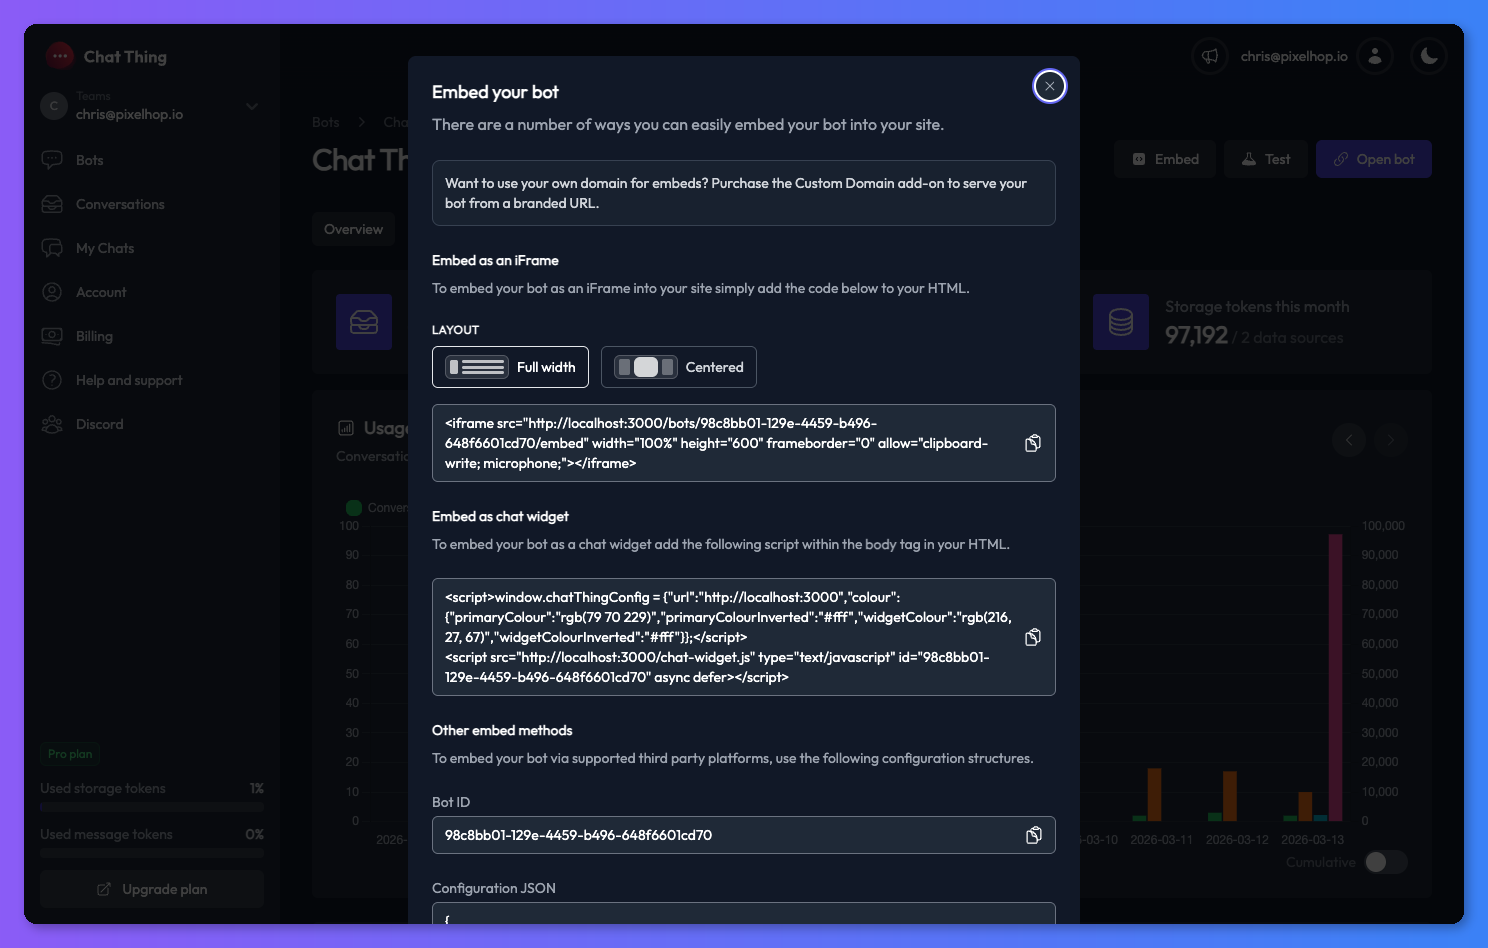
To get the embed code, click the Embed button on your bot's dashboard and follow the instructions there.
iframe layout options (full width & centred)
The iframe embed places your bot directly onto a page on your website. There are two layout options to choose from:
- Full width — The chat interface stretches across the full width of the space you give it. Great for maximising screen space.
- Centred — The chat bubbles are centred within the frame, giving conversations a clean, focused feel — similar to apps like ChatGPT.
How to get your iframe embed code
- Go to your bot's Overview page.
- Click the Embed button in the top right corner.
- Scroll to the Embed as an iframe section.
- Choose your layout using the toggle buttons — Full width or Centred.
- The embed code updates automatically when you switch layouts.
- Click the copy icon, then paste the code into the HTML of your website.
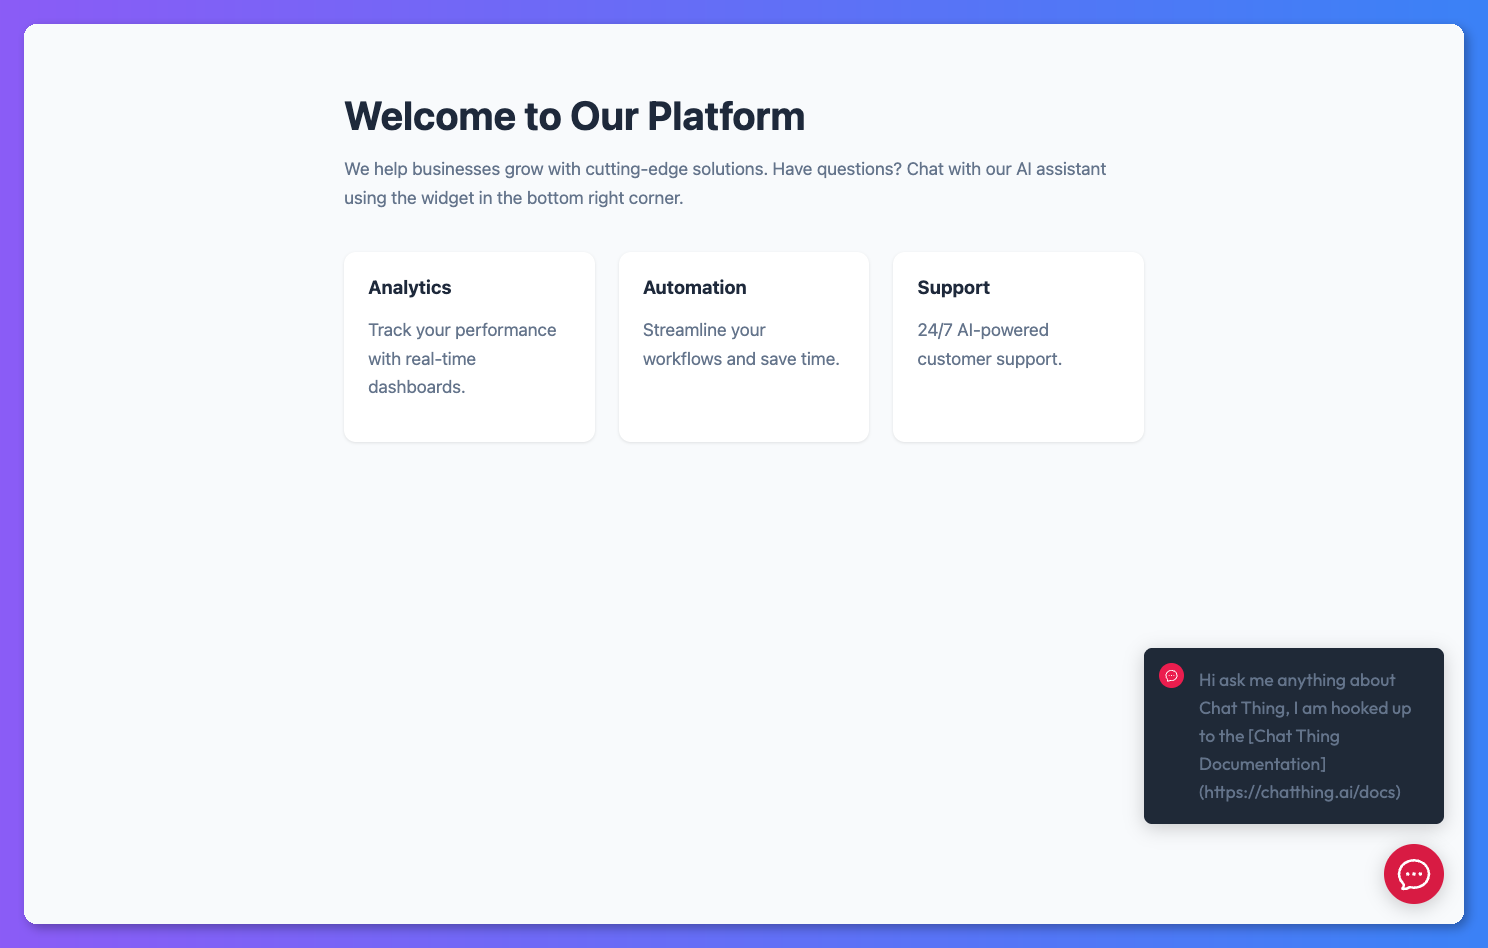
First message preview
You can show the bot's opening message as a small bubble above the chat widget — a nice way to invite visitors to start a conversation. The bubble appears after a delay that you set.
To set this up, go to the web channel settings, turn on First message preview, set the Message preview delay, and click Update settings.
Embed code updates automatically
When you change settings like theming, first message preview, or language, your embed code updates to match. If you've already embedded your bot, make sure to re-copy the snippet after making changes.
The message bubble follows your theming — it supports both dark and light modes based on your web channel settings.
Dictation & spoken responses
Give your bot a voice! You can let users speak their questions and listen to the bot's replies read aloud — great for accessibility and a more natural chat experience.
How it works
When Audio Input is turned on, a microphone icon appears in the input bar. Users can click it to record their message, then tap the checkmark — their speech is converted to text, ready to send.
When Audio Output is turned on, a speaker icon appears next to each bot response. Clicking it reads the message aloud.
How to turn on voice features
- In the web channel settings, scroll to find the Audio input and Audio output toggles.
- Turn on one or both.
- Click Update settings to save.
Password protection
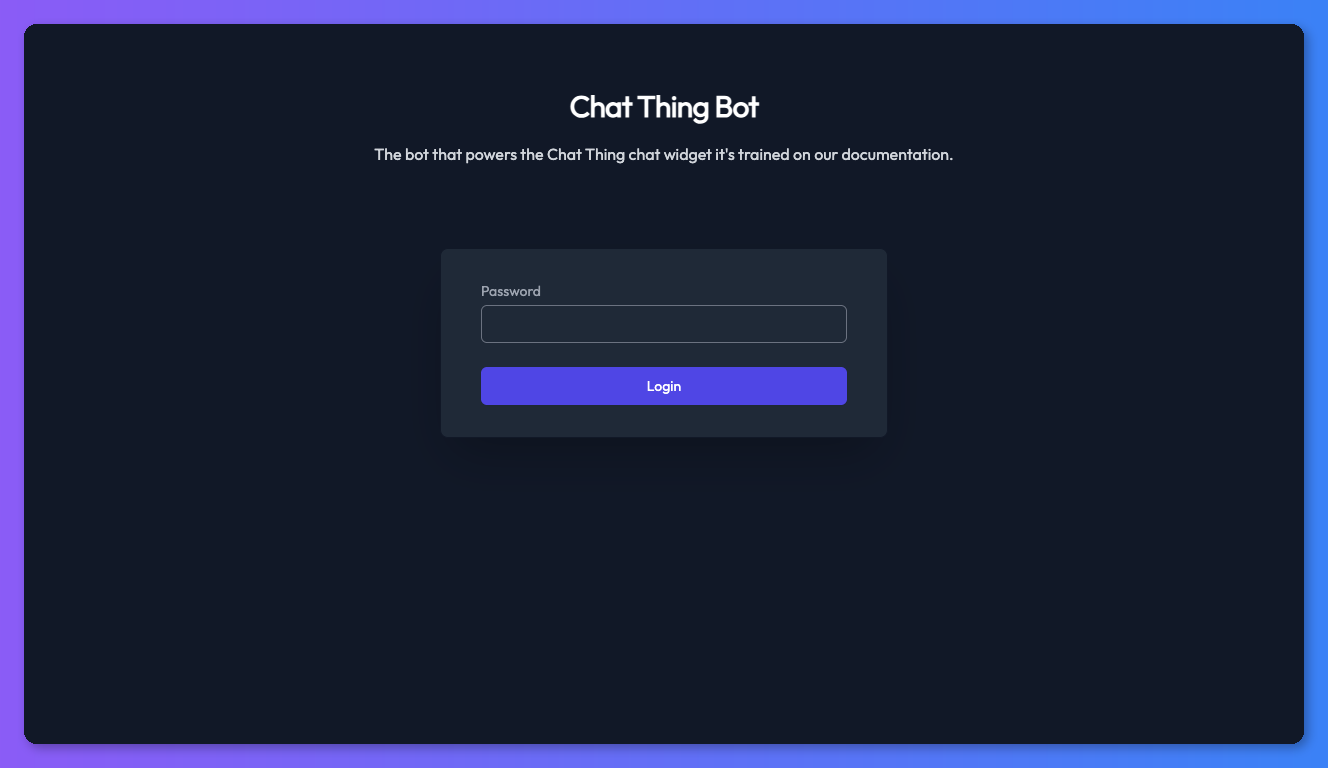
By default, anyone with the link can access your bot. If your bot has access to sensitive information, you can add a password so only the right people can use it.
To set this up, turn on password protection in the web channel settings, enter your chosen password, and click Update settings.

When someone visits your bot, they'll be asked for the password before they can chat.
Spam protection
If you're getting unwanted messages through your embedded bot, you can turn on spam protection. This adds a quick verification check (powered by Cloudflare Turnstile) that asks suspicious visitors to prove they're human before they can send messages.
We'd recommend leaving this off unless you're actually seeing spam — it adds an extra step for genuine visitors.
Language
You can set the language for the chat widget's buttons, placeholders, and other interface text using the language selector in the web channel settings.
Supported languages: English, German, Spanish, French, Italian, Japanese, Chinese, Greek, Polish, and Dutch.
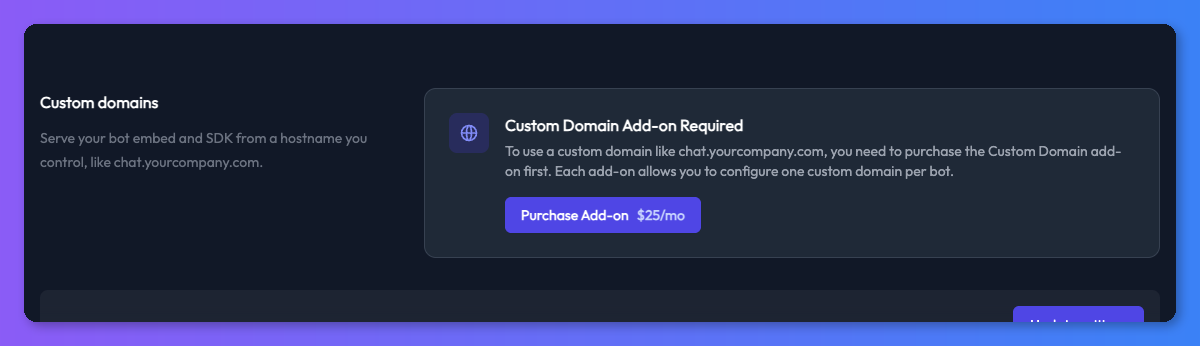
Custom domains
Custom domains let you serve your bot from a URL you control — like chat.yourcompany.com — instead of the default embed.chatthing.ai. This gives your visitors a fully branded experience.
Paid addon required
Custom domains are available as a paid addon. You can purchase the Custom Domain addon from your billing page. Each addon provides one custom domain slot across your team.
For full setup instructions, see the Custom Domains documentation.
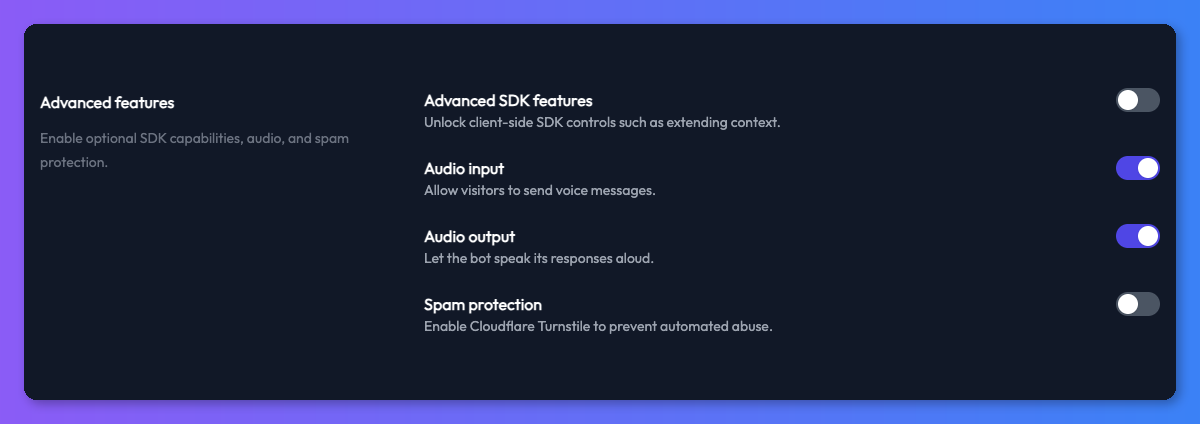
Advanced SDK features
This section is for developers
The features below use the Chat Thing SDK (Software Development Kit) — a set of tools that let developers customise how the bot behaves on their website. If you're not comfortable with code, you can safely skip this section.
If you're embedding your bot as a chat widget, you can turn on advanced SDK features for deeper integration between the bot and your website. These are off by default.
Security consideration
Turning on advanced SDK features allows code running on the webpage where your bot is embedded to change the bot's behaviour — including overriding its instructions. Only enable this if you control the page where the bot is embedded.
When the Advanced SDK features toggle is turned on, the following become available via the window.chatThing SDK:
- Extend context — Pass extra information (page details, custom data, or content) to the bot so it can tailor responses to what the visitor is looking at.
- Override system message — Replace the bot's instructions entirely with custom ones for specific pages or situations.
- Extend system message — Add extra instructions to the bot's existing ones without replacing them.
- Register client-side power-ups — Create custom tools the bot can trigger on the page, like adding items to a cart or navigating to a different page.
For full API documentation and code examples, see the SDK documentation.