Channels
Slack
The Slack channel allows you and your team to interact with your bot right in your Slack workspace! Your bot can answer questions, summarise what's happened in channels, analyse images and more!
V2 Slack integration
These docs are for our V2 Slack integration. If you need to see documentation for the V1 integration please click here
By enabling the Slack channel for your bot you can add powerful AI assistants straight into your Slack workspace, allowing you and your team to access them right where they are working.
- Give your team access to the top models — ChatGPT, Claude, Gemini, Mistral and more — right in Slack.
- Help your team find answers quicker by letting them ask questions powered by your bot's knowledge base.
- Get summaries of everything that's happened in channels while you've been away.
- Use power-ups and tool calling right from Slack.
- Combine Chat Thing's many features to create timesaving Slack agents that can do things like provide high-level weekly reports, suggest social media content based on what's happened in your company, and loads of other cool use cases!
Slack quick start
If you want to get set up with Slack quickly, check out the video below:
Connecting your bot to Slack
Before you start
The Slack integration is only available on Standard, Pro and Enterprise plans.
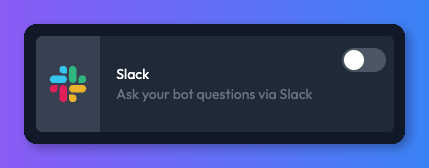
- From your bot dashboard, go to the Channels tab and enable the Slack channel by clicking its toggle switch.
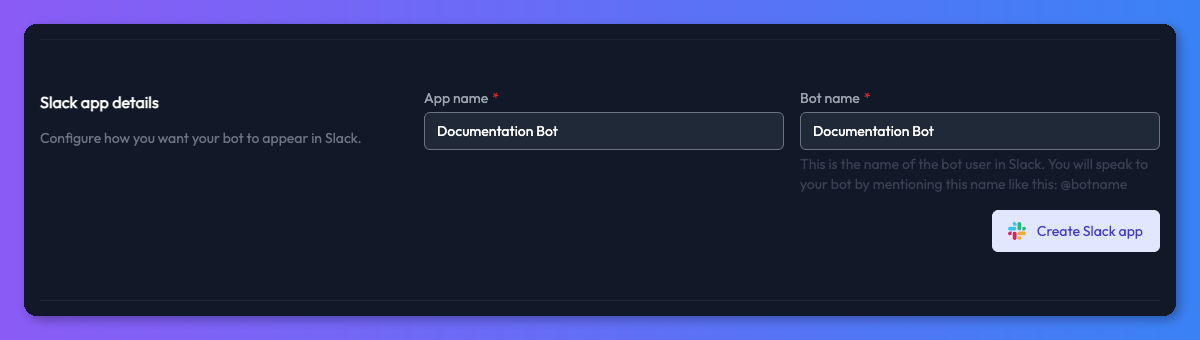
- You will be taken to the Slack channel's settings page where we need to configure a few things before you can use your bot in Slack. First, choose a name for your bot's Slack app and its bot user handle. The handle is how you will chat to your bot in Slack (like
@YourBotHandle) and it can be different to the app name.
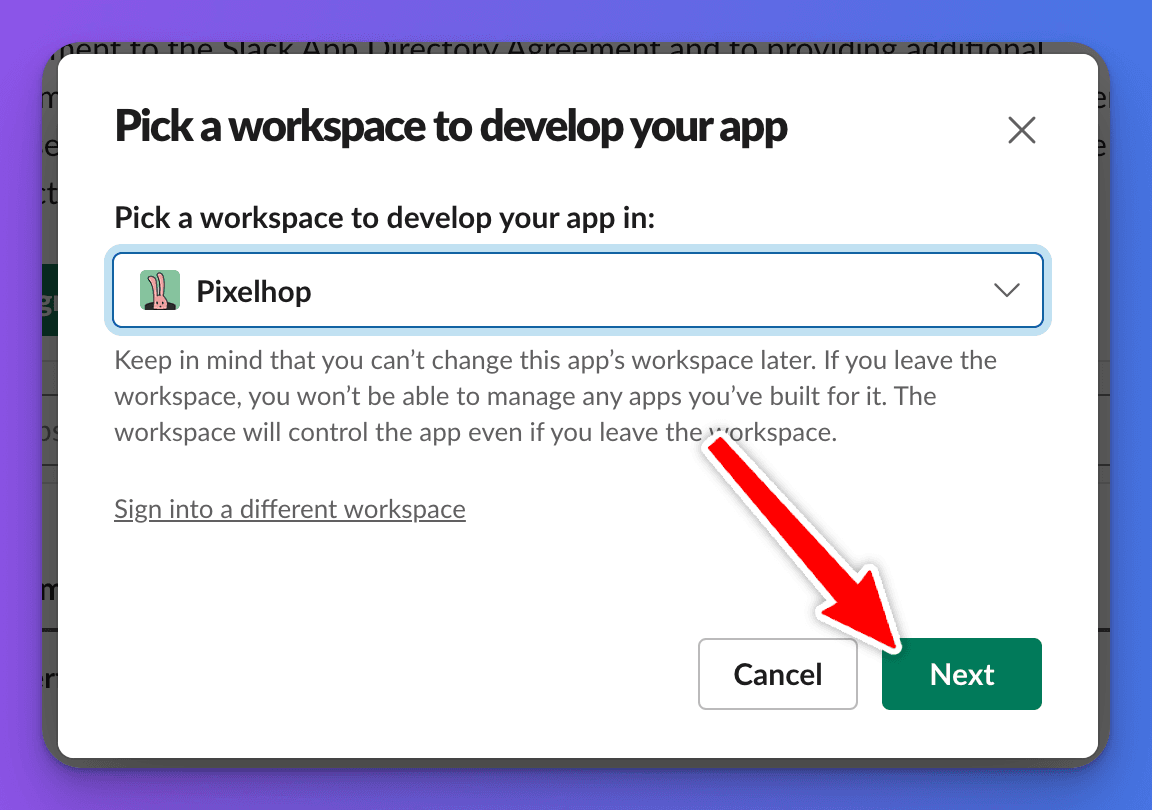
- Create the Slack app by clicking the "Create Slack app" button. This will open the Slack website in a new window. You will then be asked to select a Slack workspace to add the bot to. Choose a workspace from the dropdown menu, and click "Next".
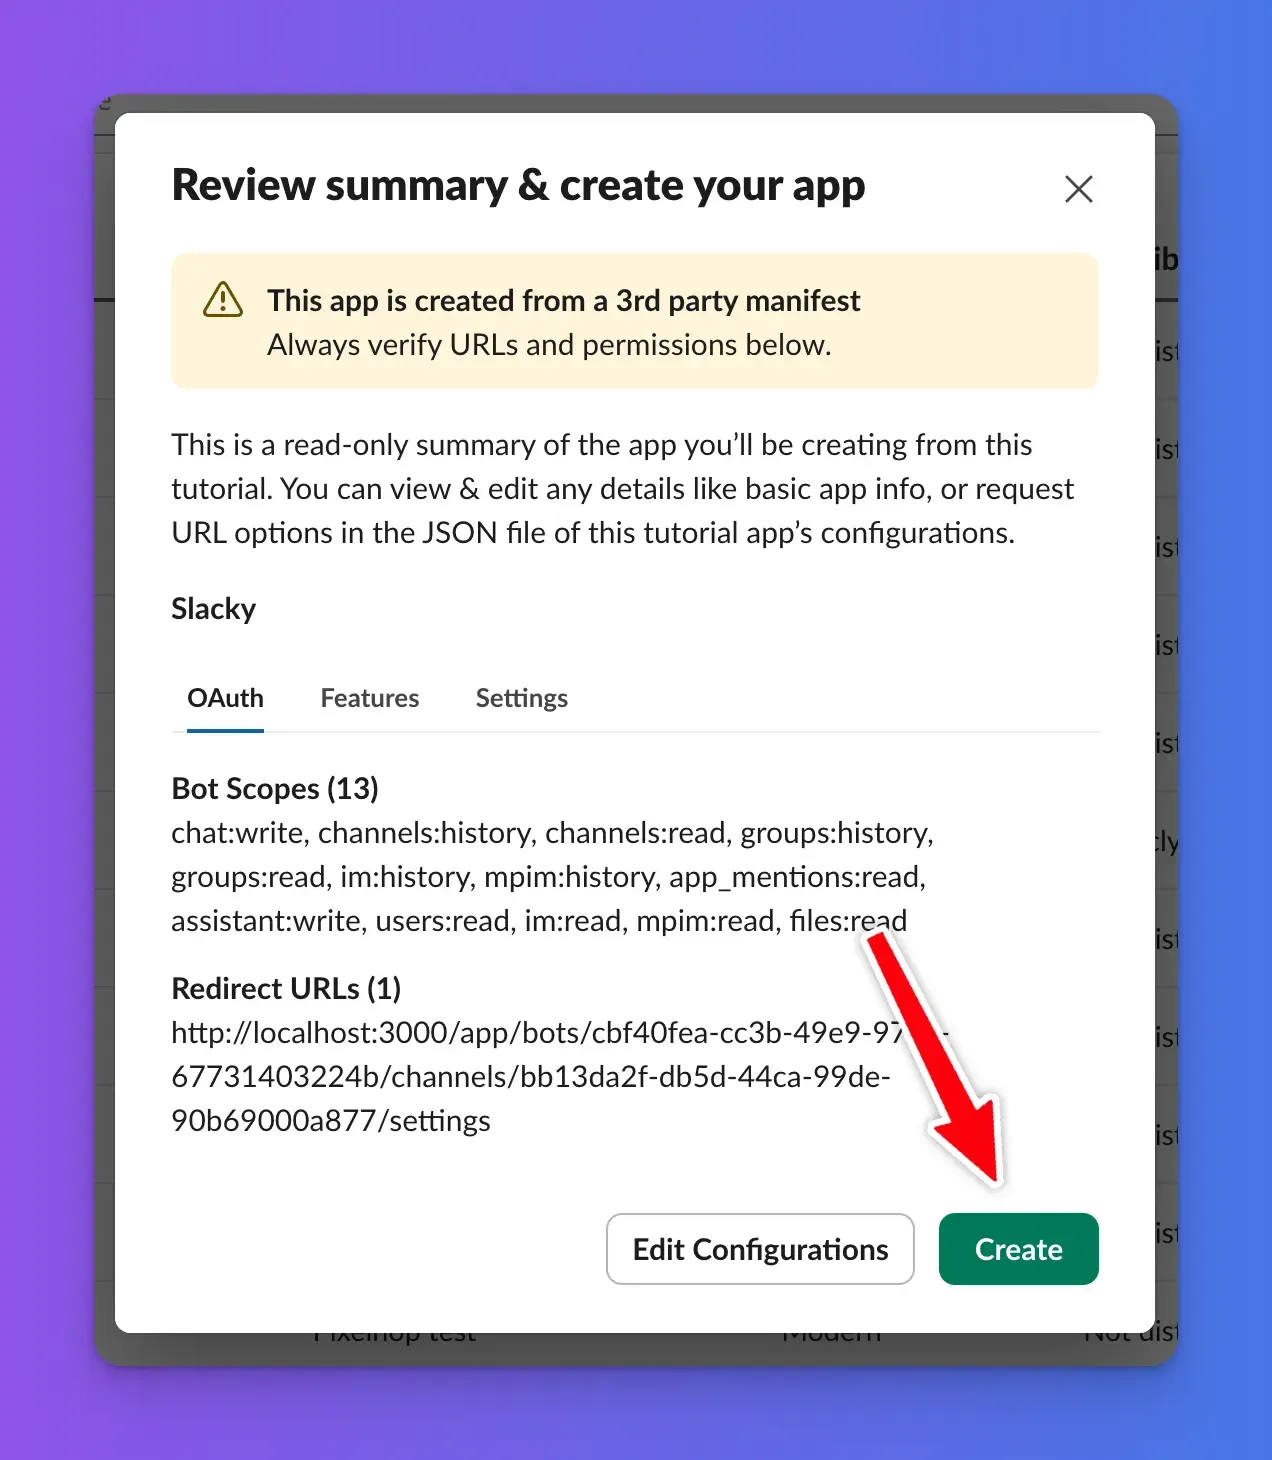
- Review the bot's permissions, and if you are happy click "Create".
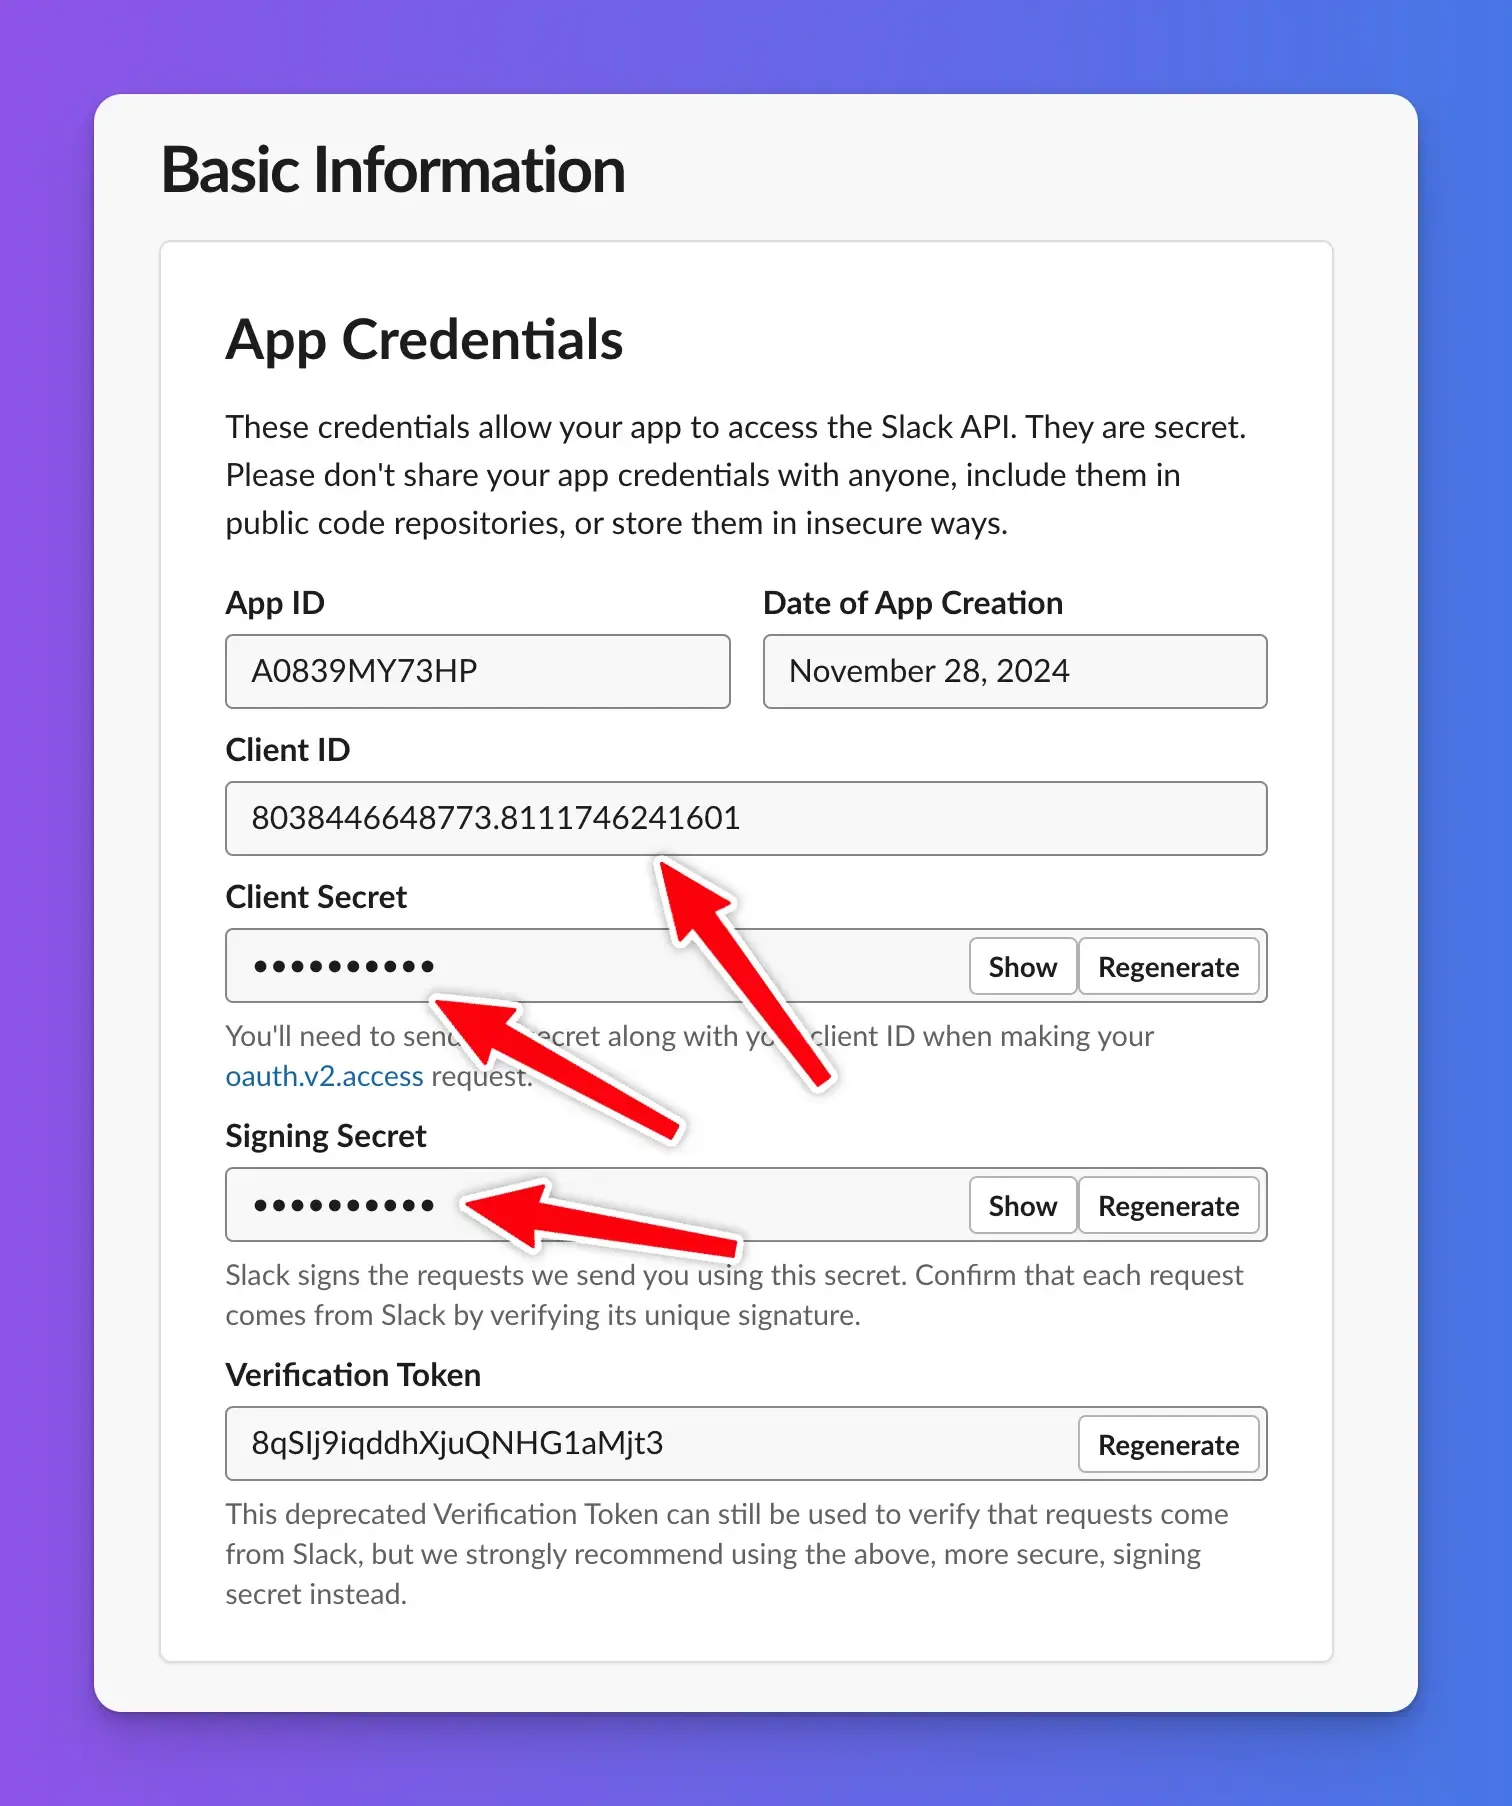
- Your new app will have been added to your workspace. You now need to copy its credentials from Slack to Chat Thing. From the app "Basic Information" page on Slack, copy the "Client ID", "Client Secret", and "Signing Secret" into their respective fields on the Chat Thing Slack settings page. Make sure you reveal the client secret and signing secret with the "Show" button before copying, otherwise they will have the wrong values.
Add the credentials in Chat Thing in the appropriate fields:
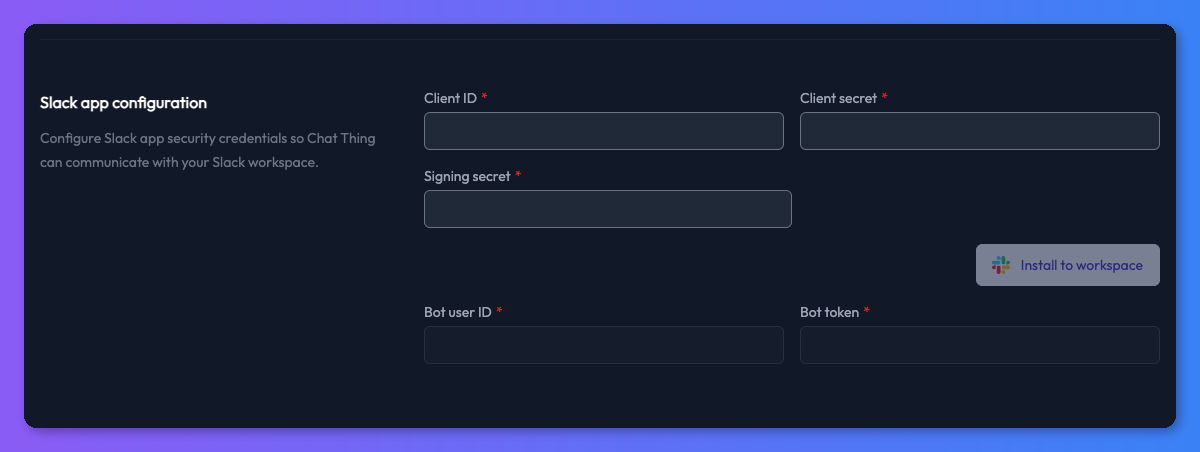
- Once you have copied in the credentials, it's time to install your newly configured app into your Slack workspace by clicking the "Install to workspace" button.
- A new window will open on Slack requesting permission for your new Slack app to access your workspace. Click the "Allow" button to install the app.
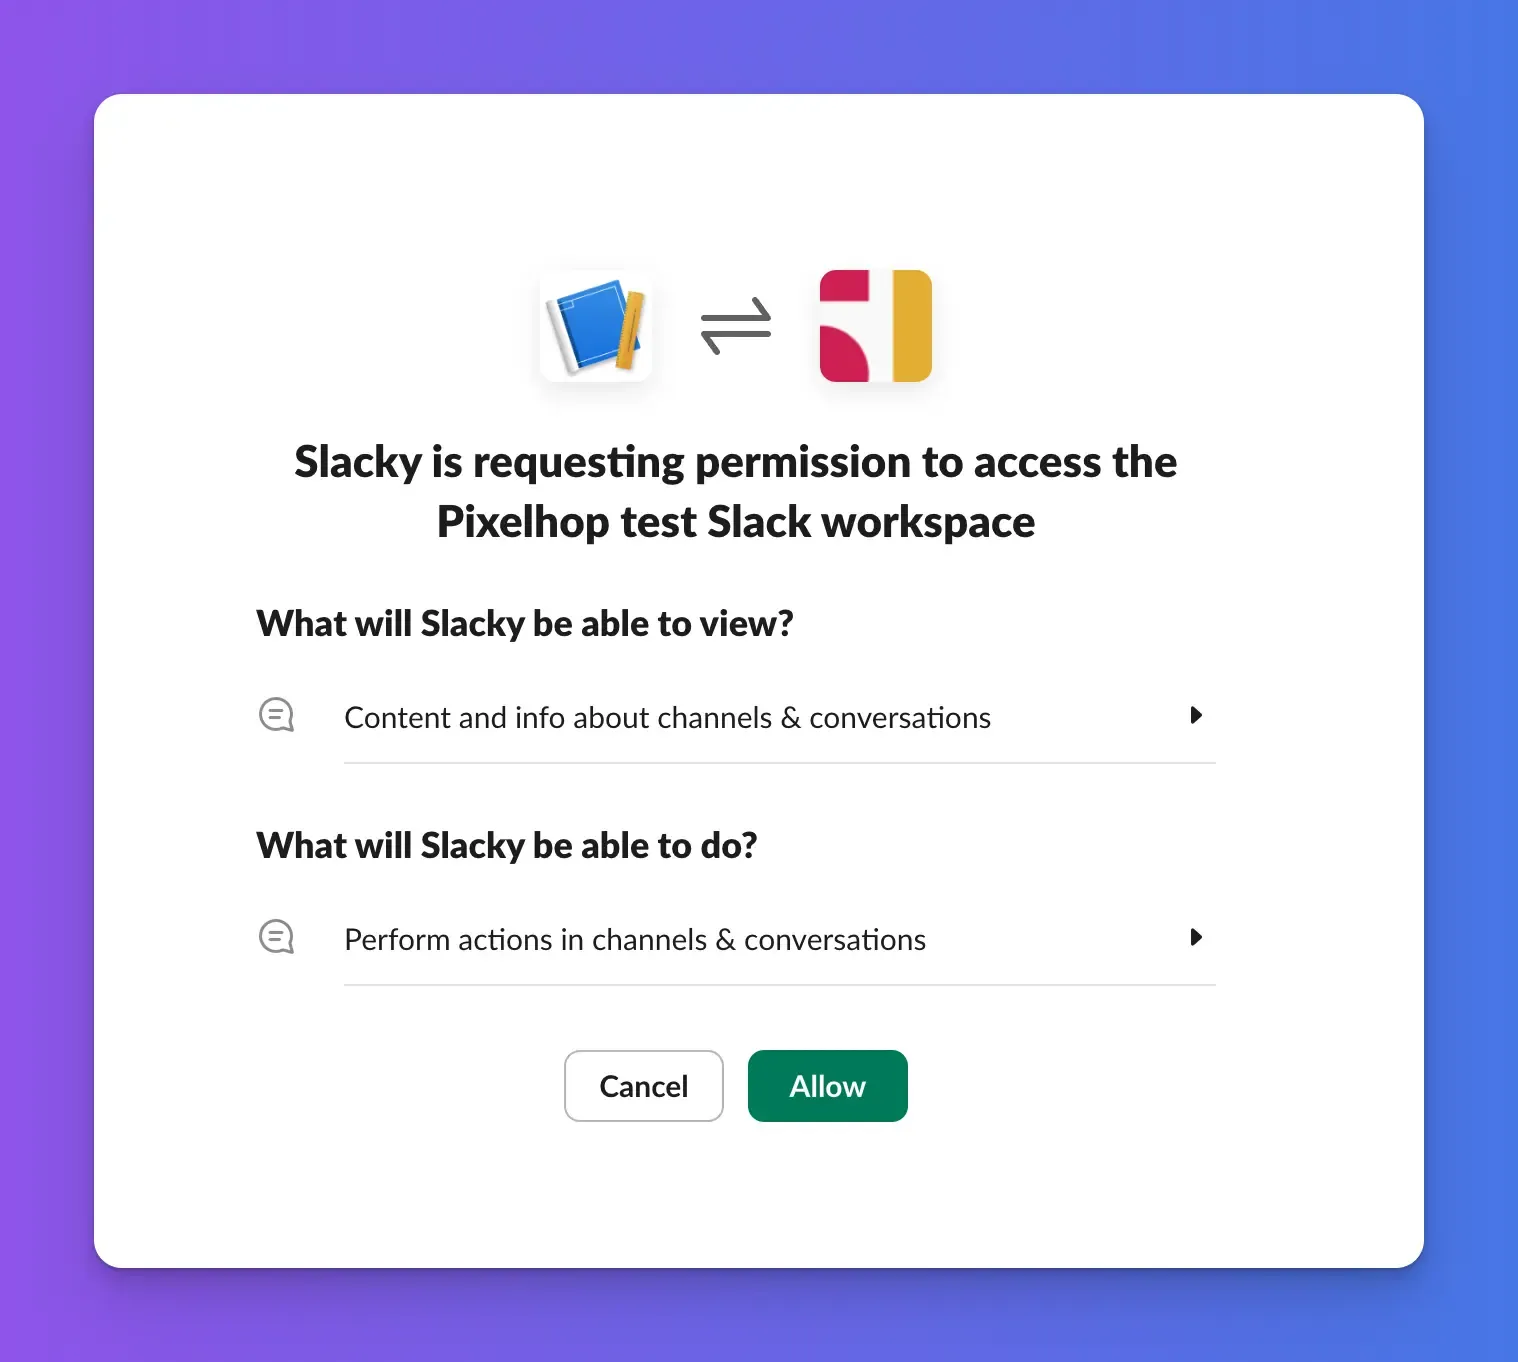
- Your new bot should now be installed. Assuming everything has worked, you should see a success notification and the "Bot user ID" and "Bot Token" fields should be filled in on the Chat Thing Slack channel settings.
Talking to your bot in Slack
Now that your bot is installed into your workspace you are ready to chat with it! There are a few different ways you can interact with your bot, each suited to different situations.
Using your bot's @ handle
You can add your bot into any channel or thread and speak to it using its @handle. This is great for asking questions in context where the whole team can see the answer.
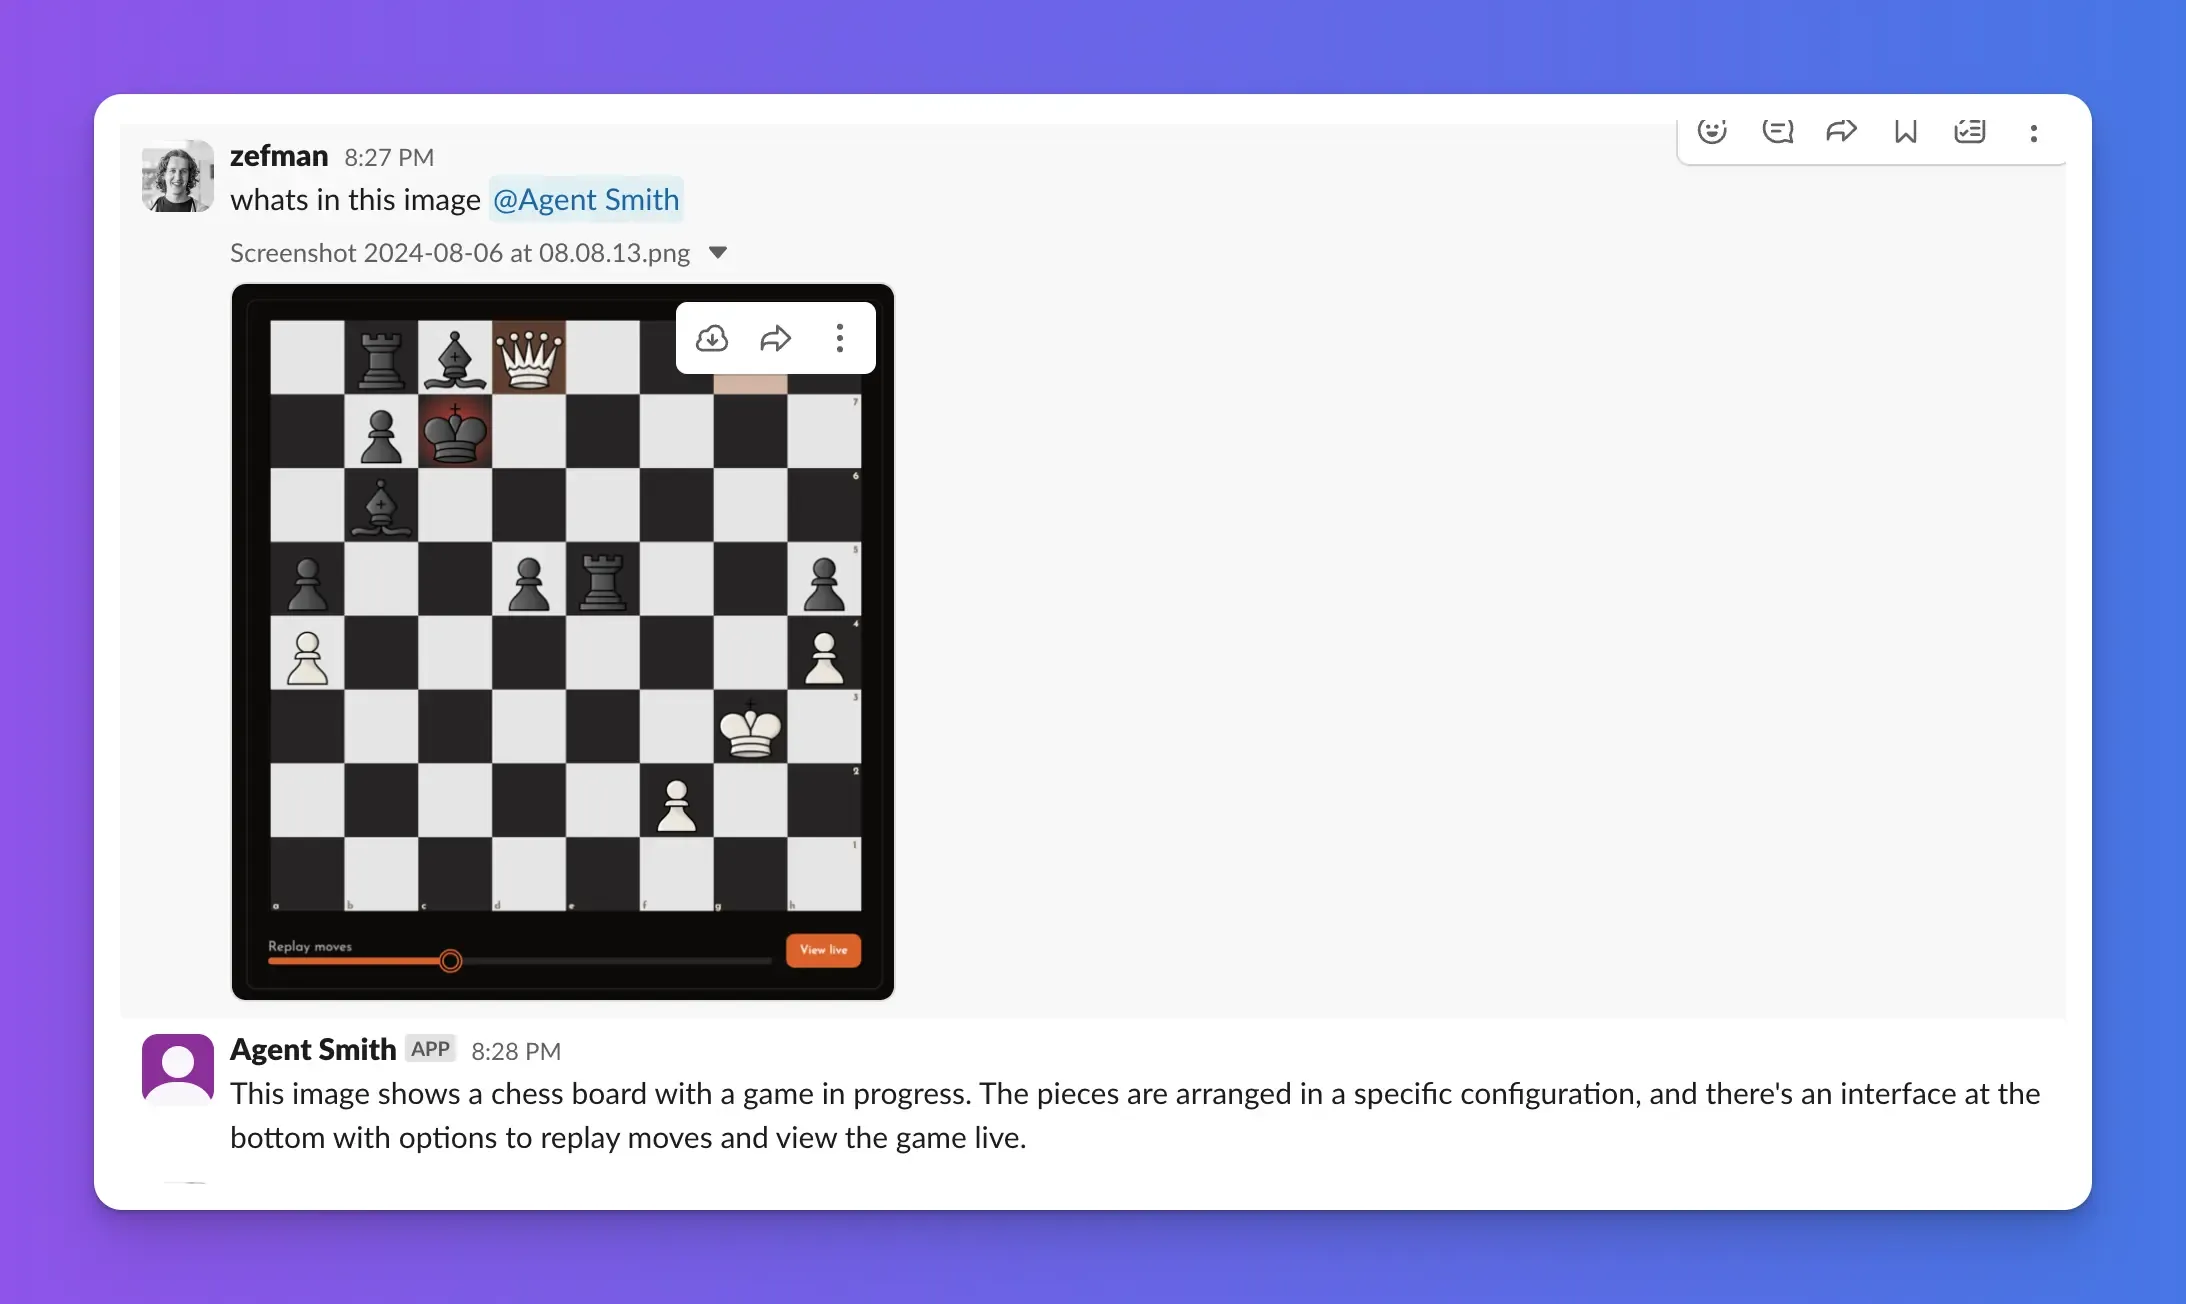
It's worth noting that your bot will only reply in channels and threads if you use its handle in your message. So if you want to follow up on a response from the bot, make sure you @ it again.
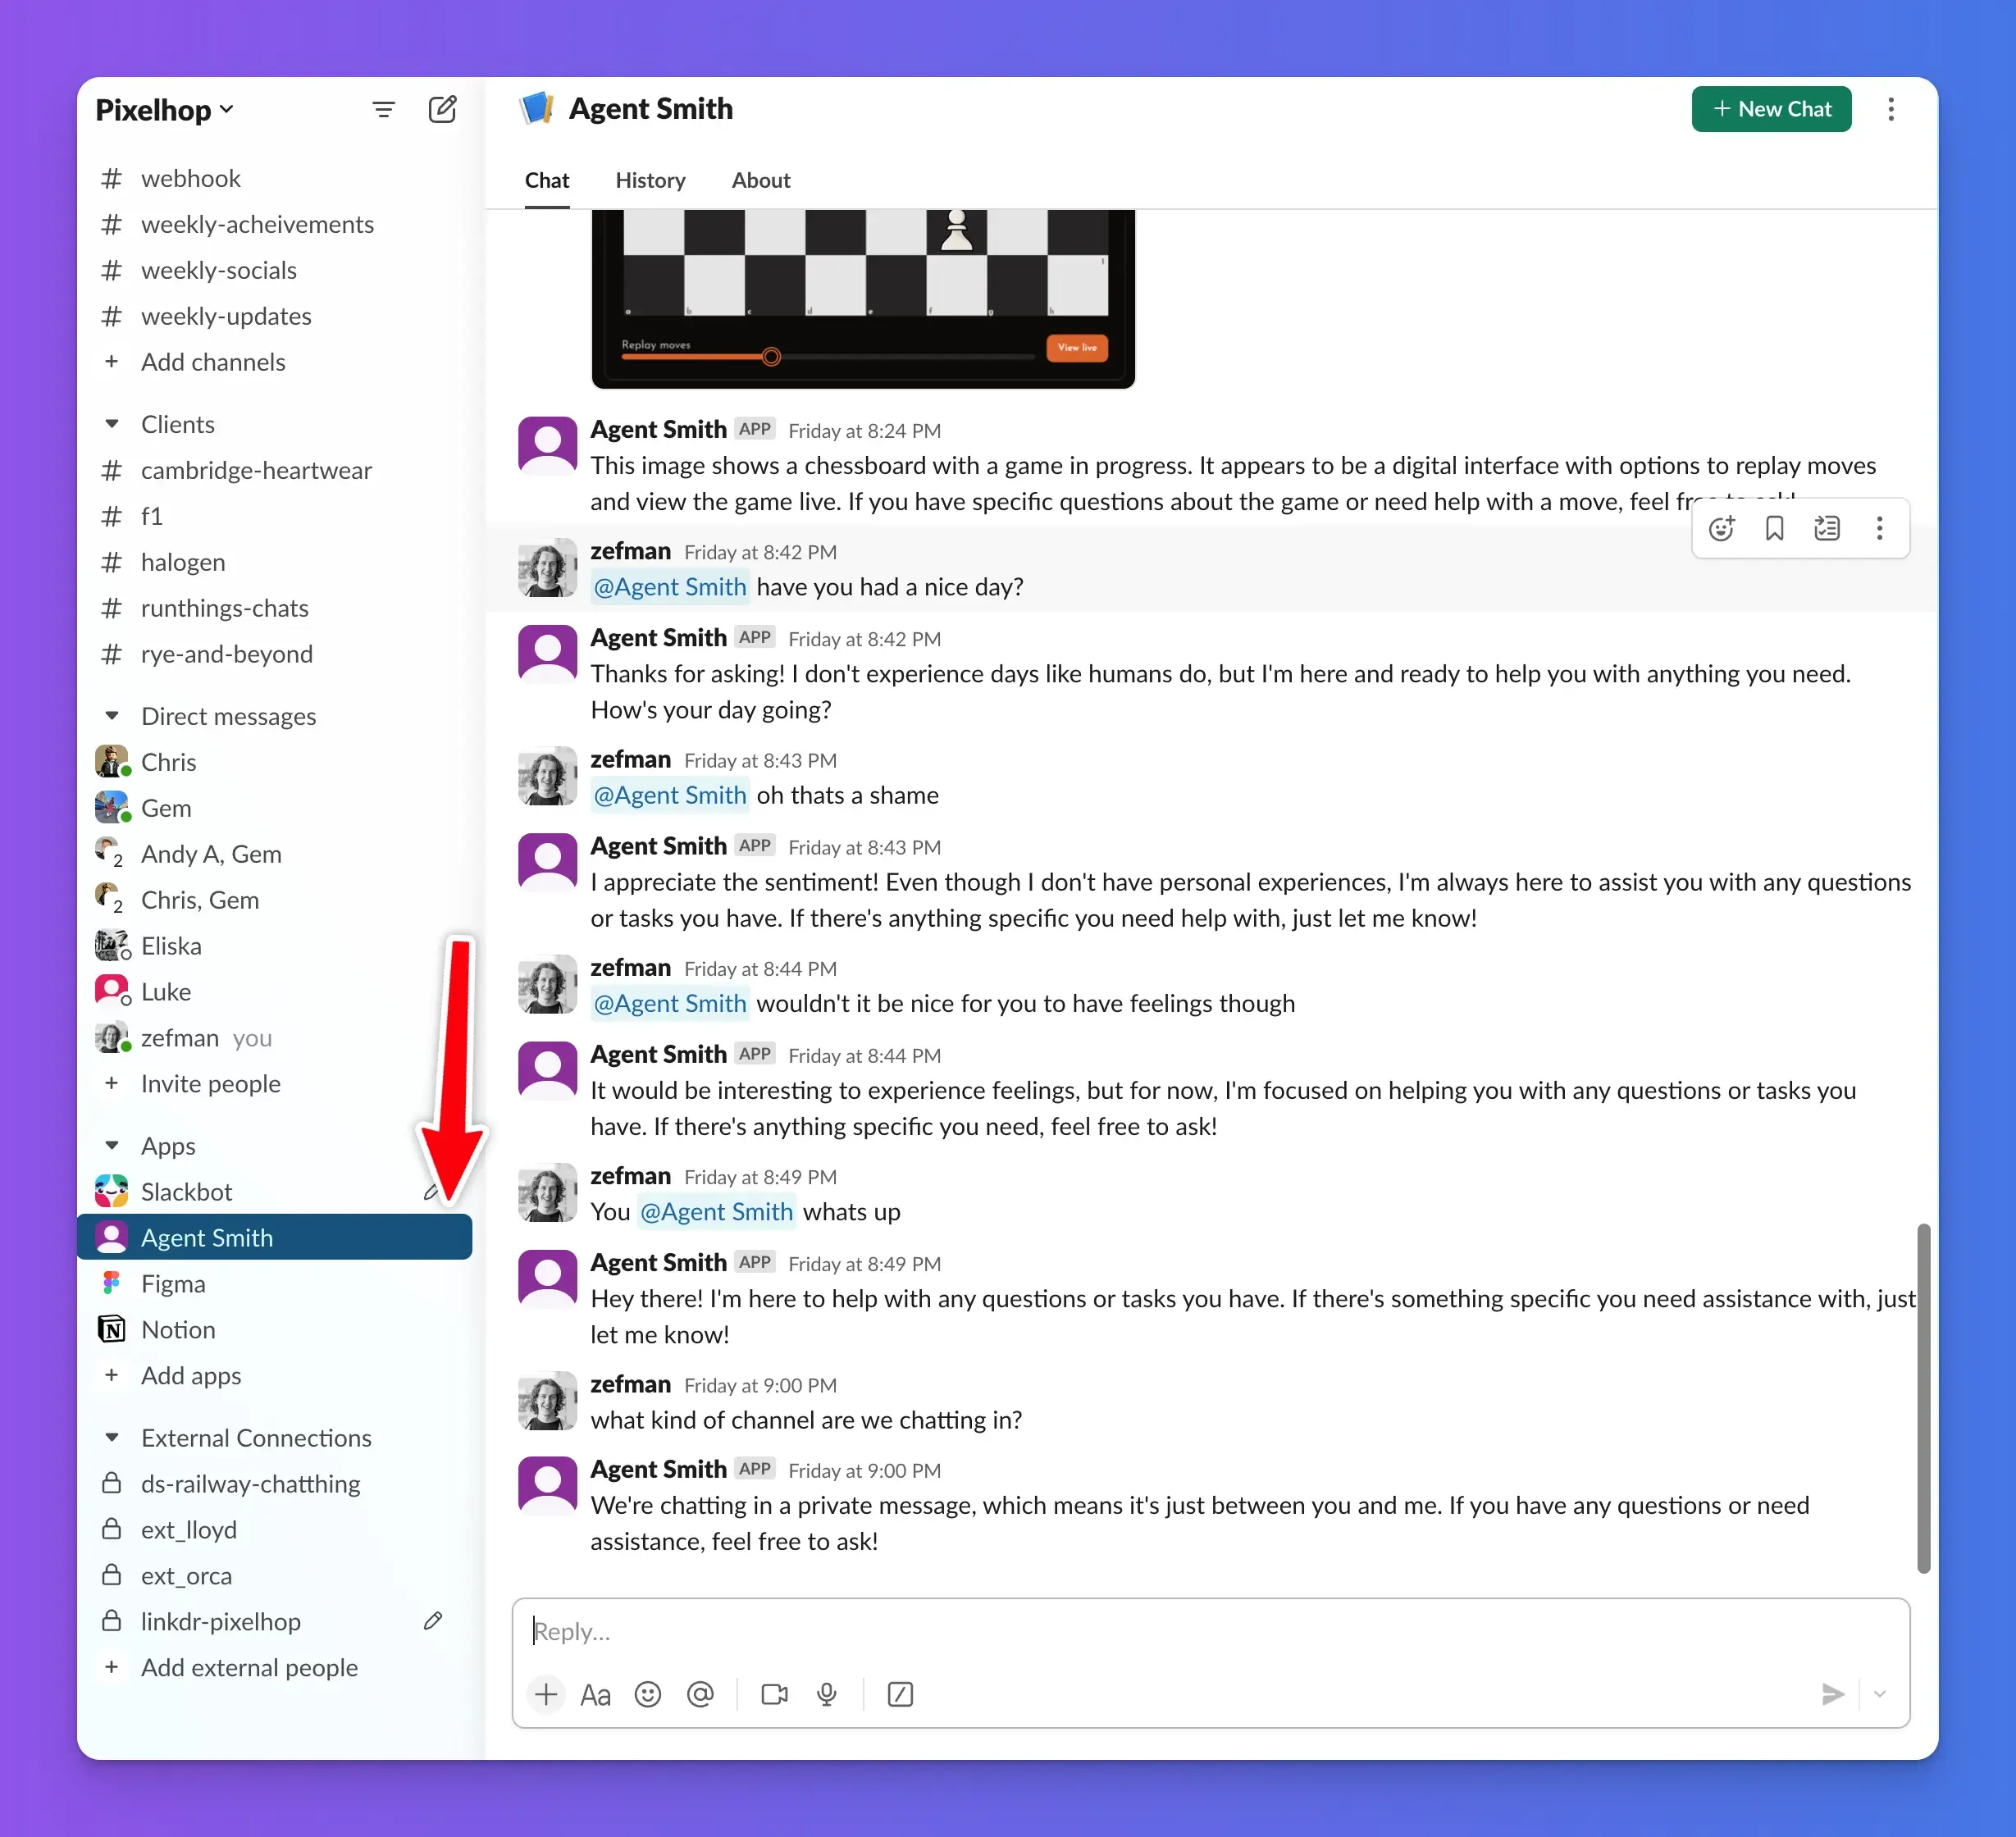
Chat via direct messages
If you prefer a private conversation, you can speak to your bot via direct messages. When chatting via a direct message you don't need to @YourBotHandle — it will respond to every message you send. This is ideal for quick questions or tasks you don't need to share with the team. You can start a direct message with your bot by clicking its name in the "Direct messages" section of the Slack sidebar.
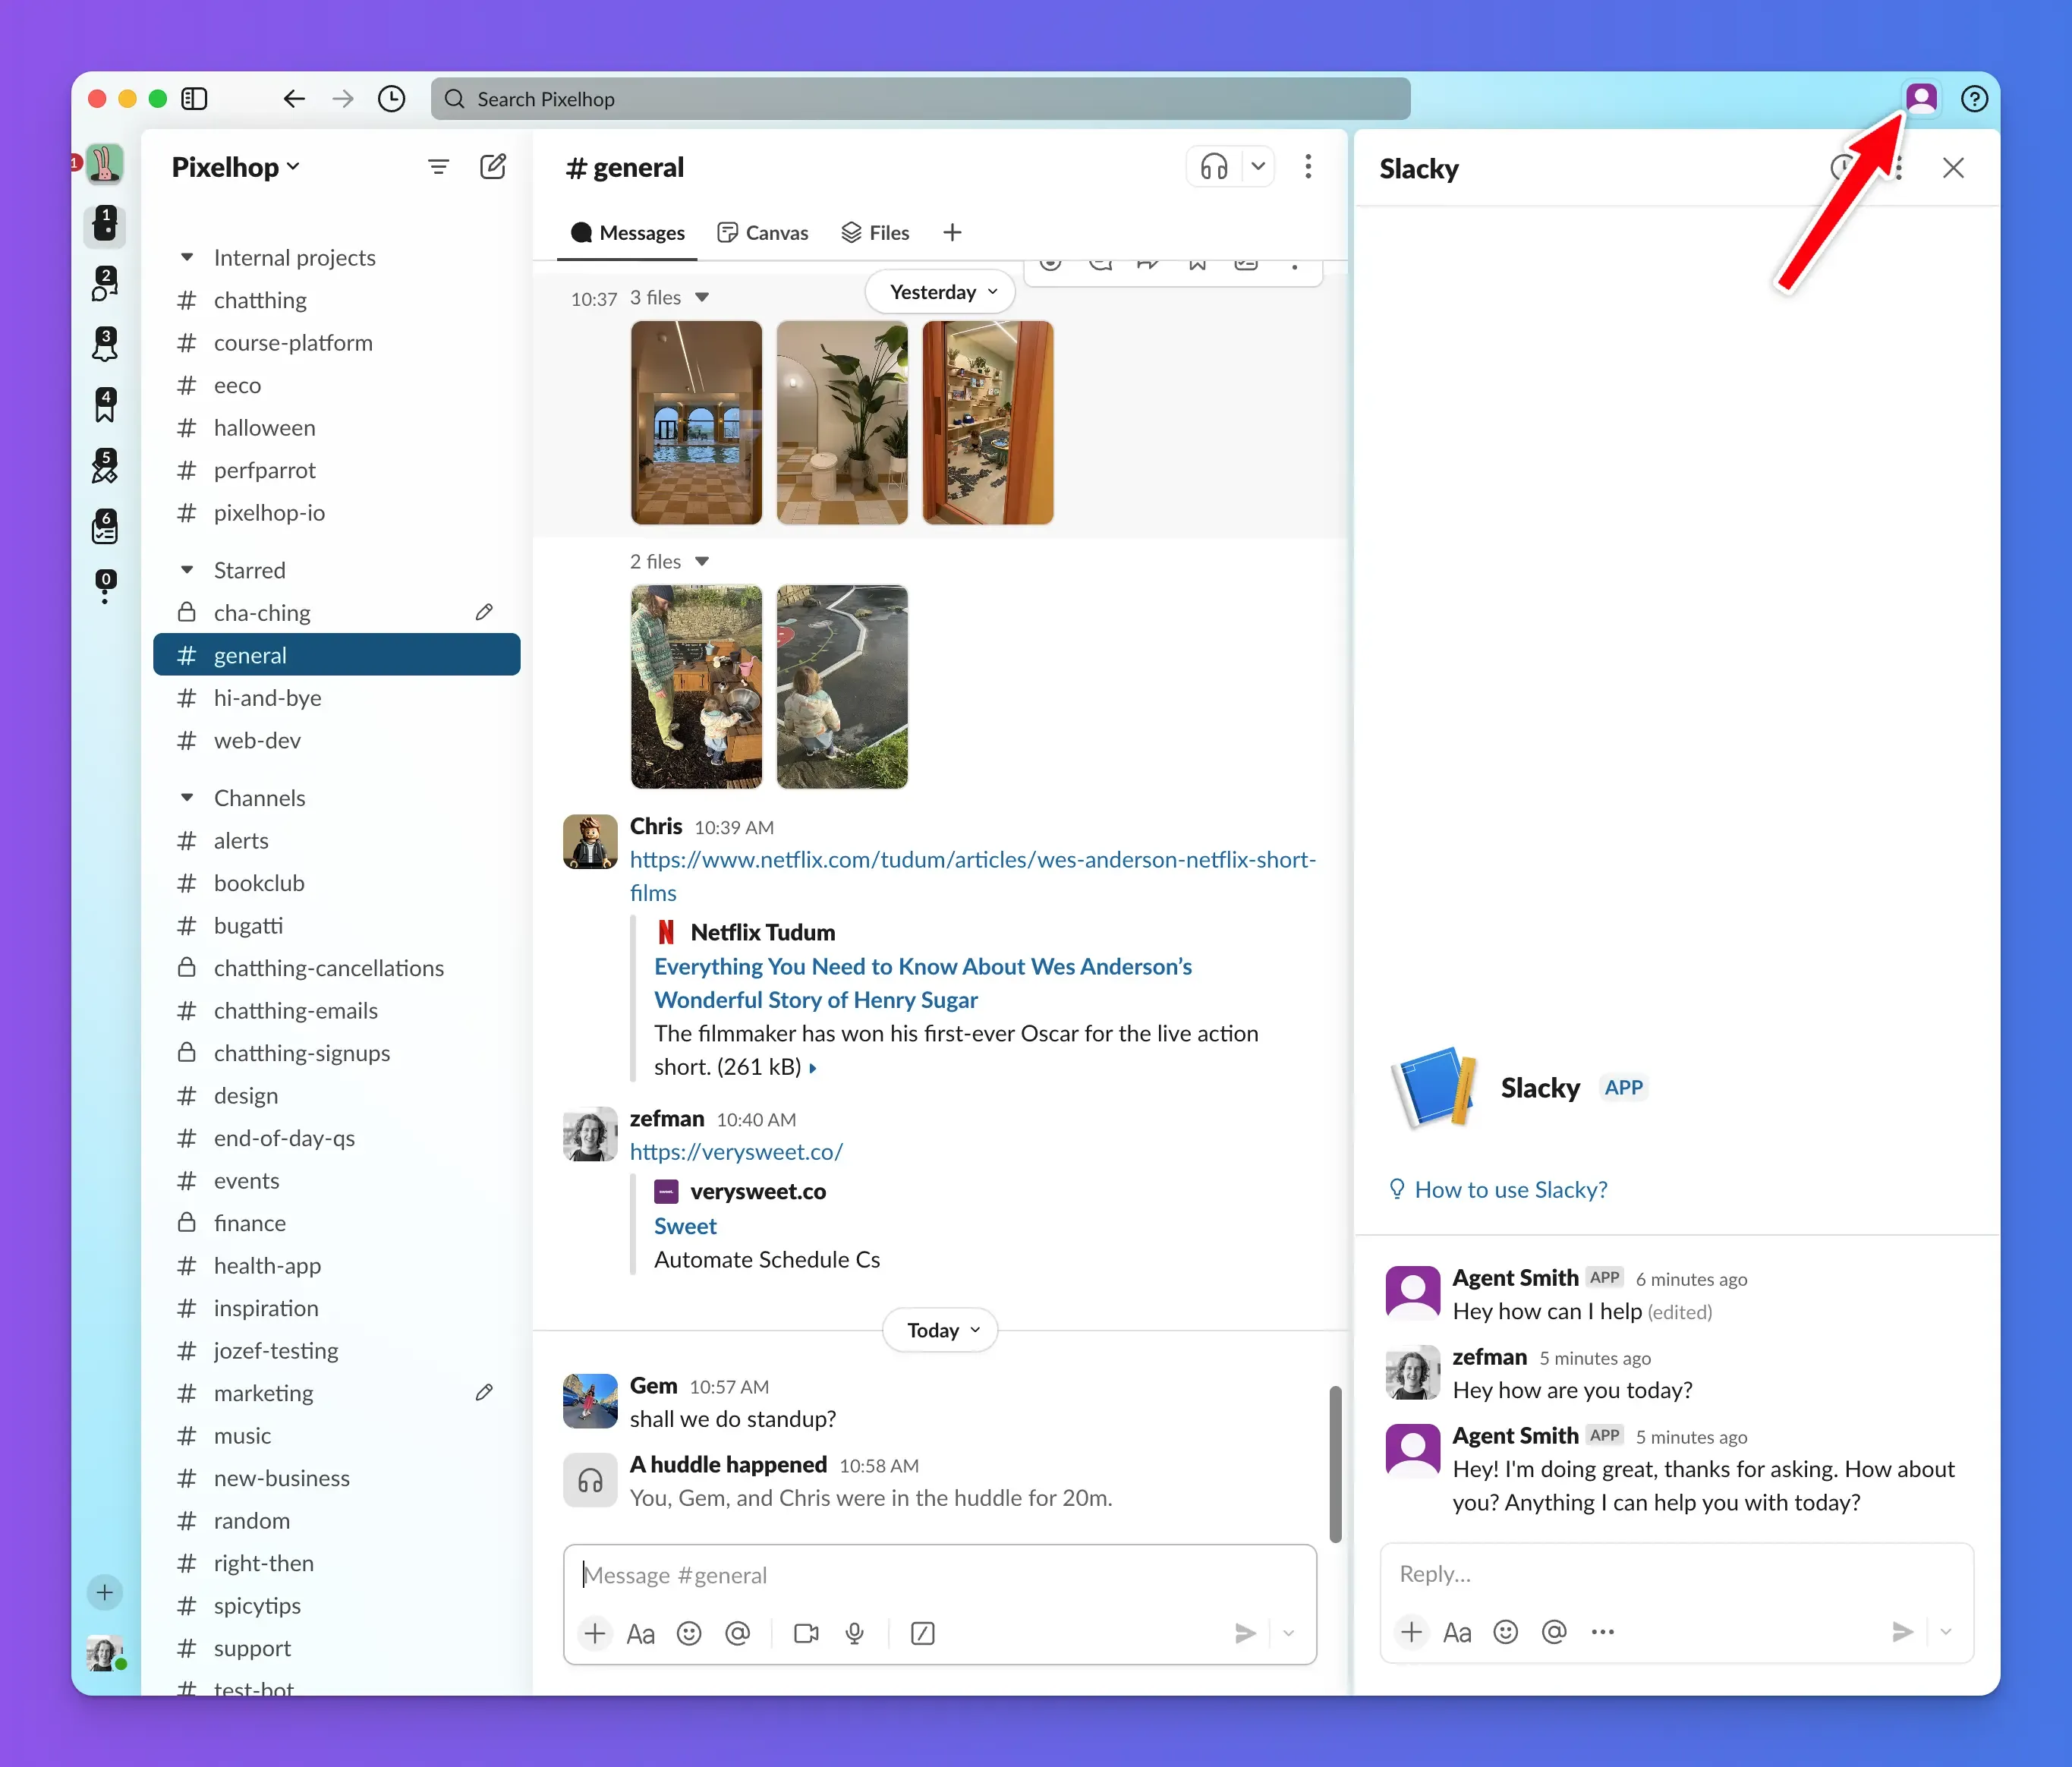
Using the Slack AI Assistants sidebar
The final way you can chat to your bot is via the Slack AI Assistant sidebar. This is a dedicated area within Slack for AI assistants and agents, and it opens in a sidebar next to your current channel. Your bot will respond directly to any message you post in here. To open the sidebar, click your bot's name and icon in the top right of Slack. This method is perfect for longer conversations where you want to keep your chat history organised.
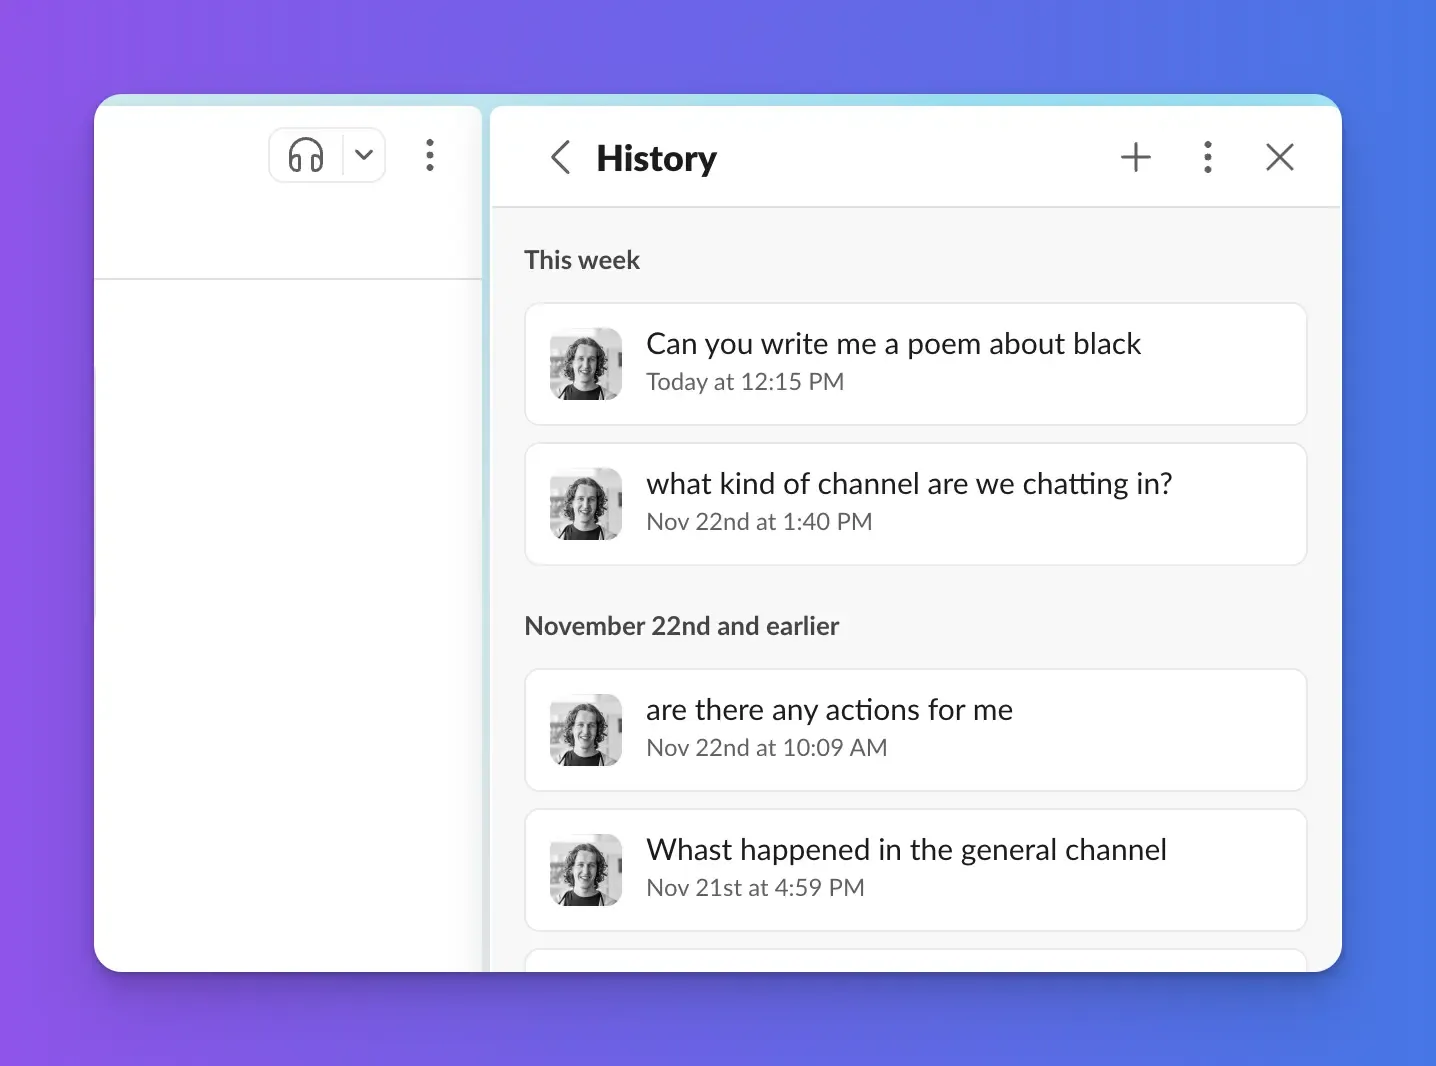
One of the benefits of chatting to your bot here is that you can start new chats and get a history of your previous chats with the bot.
Changing Slack bot settings
After installing your Slack bot you may want to adjust settings such as its name or icon.
Changing bot icon
You can change your bot's icon from the "Basic information" section of your Slack app settings on the Slack website.
![]()
Changing bot name
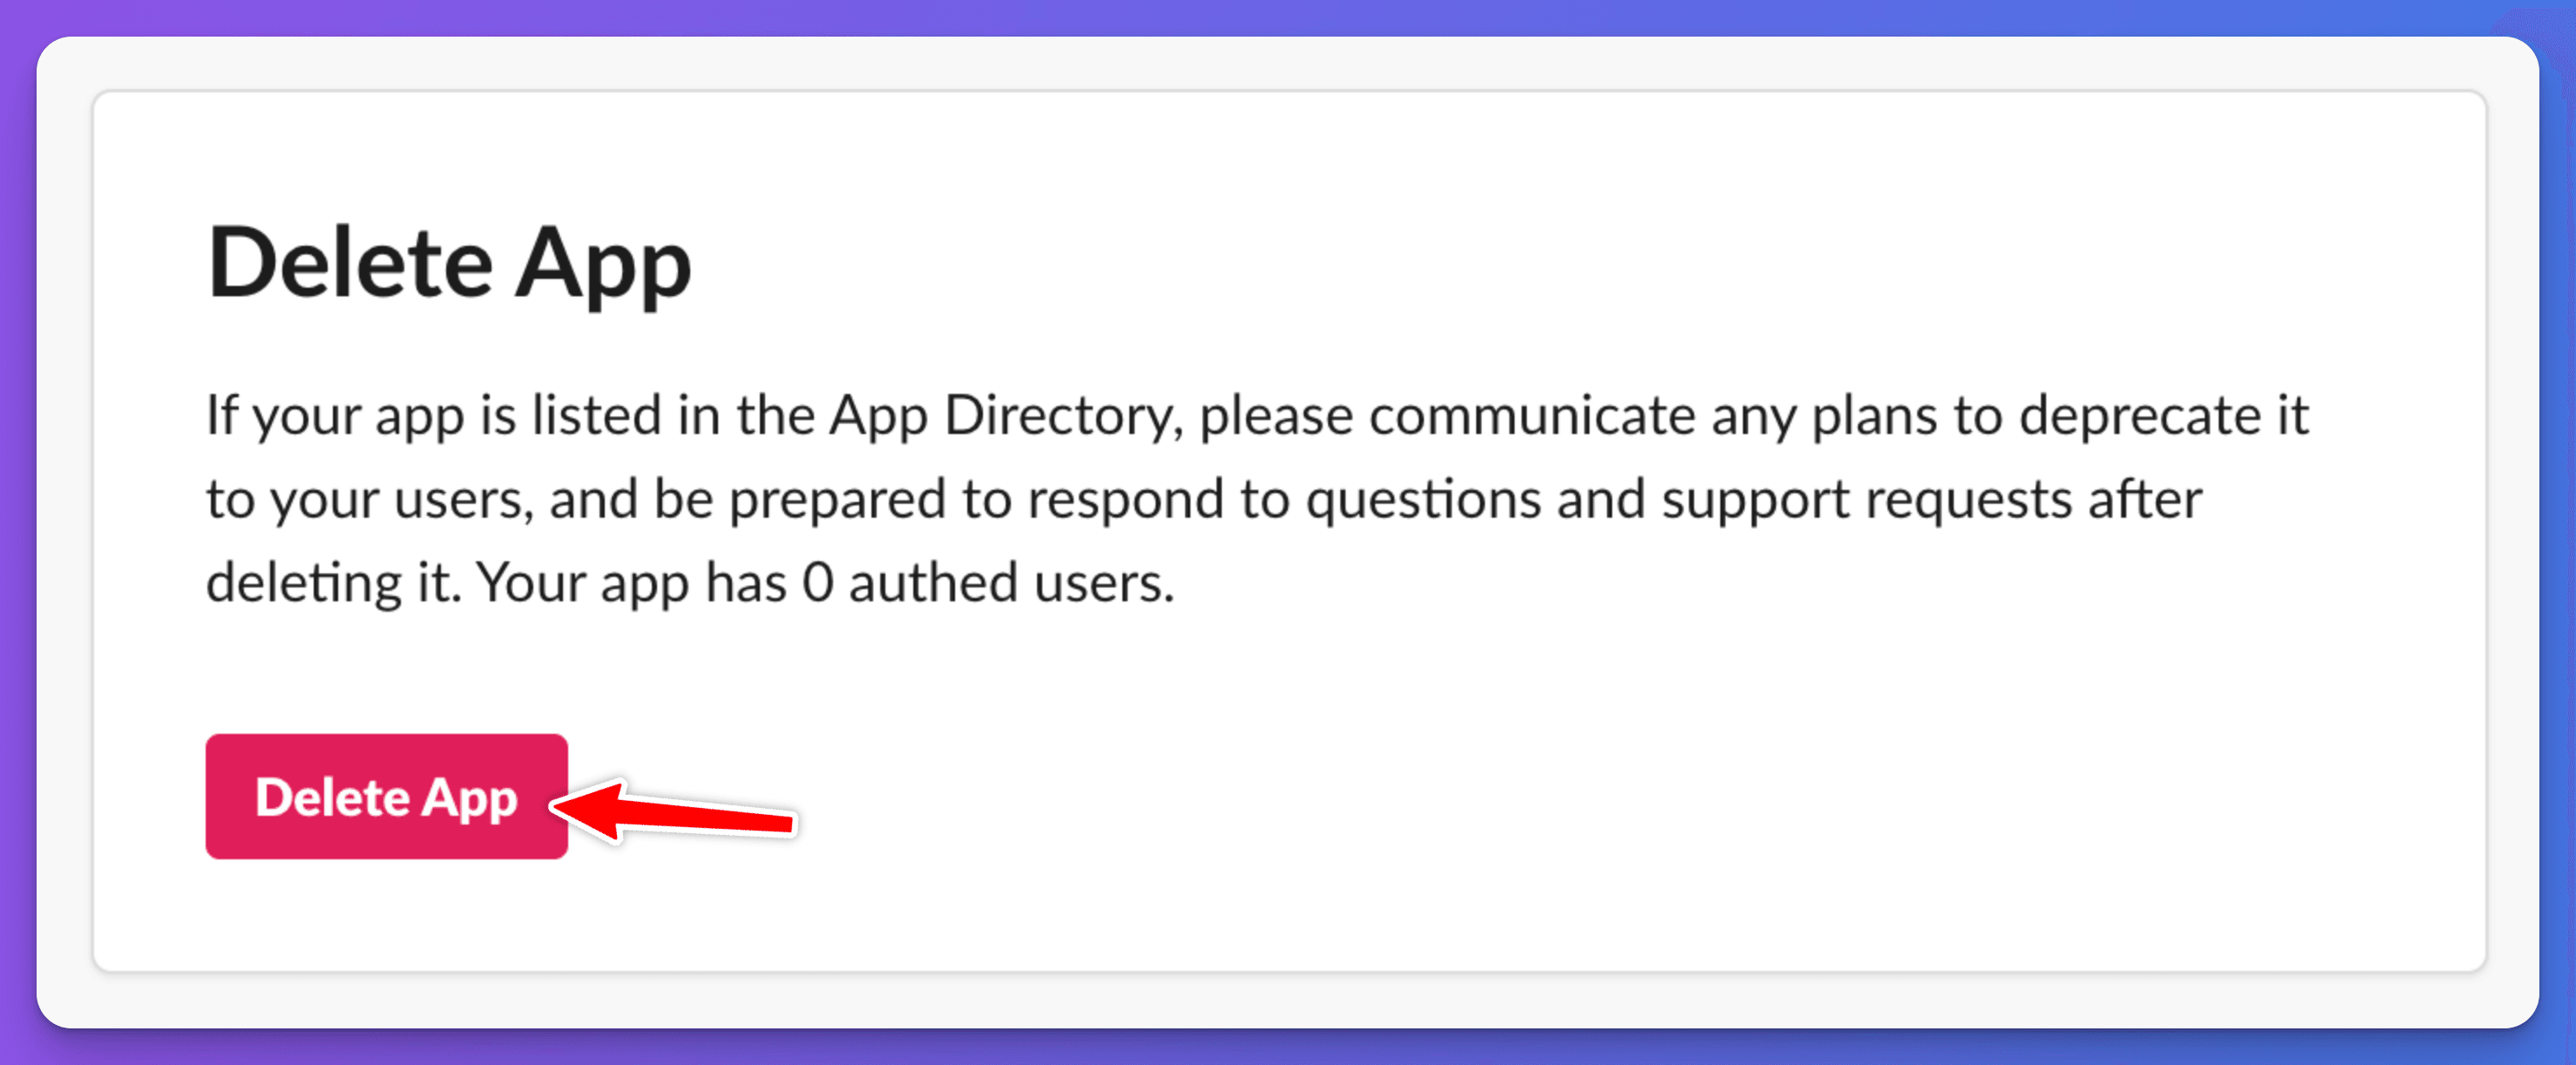
The easiest way to change your Slack bot or app's name is to first remove it from Slack, change the name on the Chat Thing settings page, and then re-complete the installation steps from step 3 onwards.
To remove your existing bot from Slack, go to your bot's management page, scroll down and click "Delete App".
Slack recipes
Below are instructions on how to achieve common and useful tasks with your Chat Thing AI Slack assistant.
Summarising channels
A really common and useful task for a bot is to help you catch up on what has happened in a channel by asking something like "Can you give me a summary of what's happened in the general channel this week?"
When you speak with your bot in a channel it is provided with a limited amount of message history to help it answer your question. To allow your bot to access more of the chat history for creating summaries, you need to add the "Slack: Get history" power-up. This power-up allows the bot to retrieve the entire history for any channel it has been added to. Check out the Slack: Get History power-up documentation for more.

Sending messages
You may want your bot to send messages into a Slack channel on its own, not just as a direct response to a question.
For example, you may be talking to the bot in a private channel and say something like: "Write me a report on everything that's happened in the ai-project channel this week, and then post it into the general channel".
To allow this, you will need to add the "Slack: Send message" power-up that lets the bot post messages into any channel it has been added to. Check out the Slack: Send message power-up documentation for more.
Scheduling Slack messages
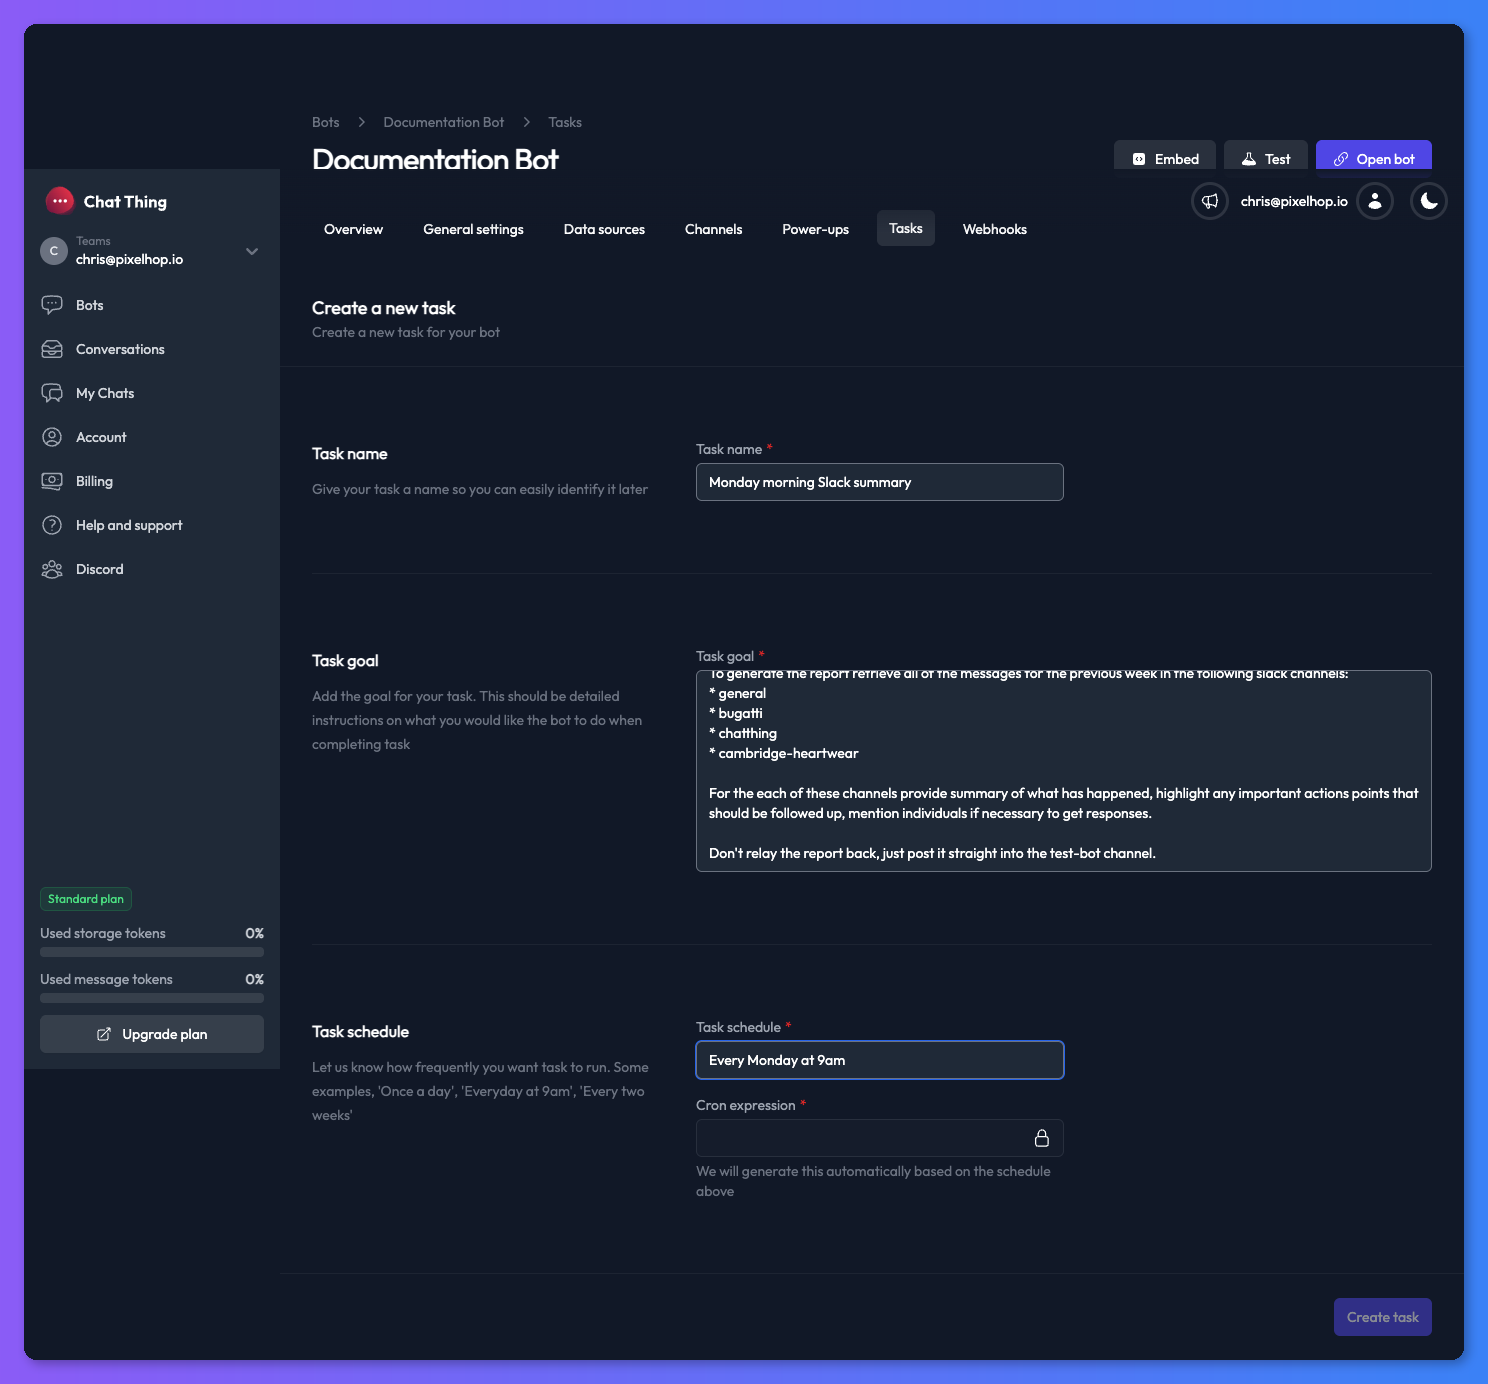
Chat Thing AI Slack assistants become extremely powerful when you give them agentic tasks to complete. A perfect example is providing a weekly summary of everything that's gone on in your Slack workspace on a Monday morning, ready to review and help you plan for the week ahead.
This can be achieved by using our task feature to schedule your bot to complete a task every Monday morning with a prompt similar to this:
Please generate a Monday morning report on everything that happened in the previous week.

To generate the report retrieve all of the messages for the previous week in the following slack channels:
* general
* bugatti
* chatthing
* cambridge-heartwear

For the each of these channels provide summary of what has happened, highlight any important actions points that should be followed up, mention individuals if necessary to get responses. For bugatti, chatthing and cambridge-heartwear give each project a traffic light rating on whether things are on track or need attention.

Don't relay the report back, just post it straight into the test-bot channel.
To complete this task you will need to have added the send message and get history power-ups and added your bot to the required channels.